More and more of my projects involve cutting wood with power tools. Cutting wood with power tools creates an enormous cloud of dust. My workshop is in my living room. Given all these facts, I decided my mini Shop-Vac wasn’t cutting it, and started looking for something a bit more robust.
As I began researching different vacuums, I found that high-end vacuums were generally referred to as “dust extractors”. I’m assuming this is to convince yourself that the $700 you just spent on a large plastic box on wheels was justified. Besides the price, high-end vacuums usually differ from Shop-Vac type vacuums in several ways:
- Quieter. Mufflers on the exhaust and sound dampening foam reduce noise.
- Better filtration. HEPA filters combined with sealed motor housing means fewer dust particles leak past the filter/housing.
- Separate cooling for motor. Cheaper vacuums use the suction stream to cool the motor. If the suction stream stops while the motor is running, say due to a clog or collapsed hose, the motor will overheat and eventually burn up. High-end vacuums have a separate stream of air that is fed to cool the motor. An additional benefit is that the motor is being cooled with a clean stream of air rather than the exhaust from the suction hose. In theory this should result in a cleaner, longer lasting, motor.
- Auto-start. Convenient feature that allows you to plug in a tool and start the vacuum when ever the tool is turned on.
- Adjustable suction. Useful when hooking the vacuum up to sanders.
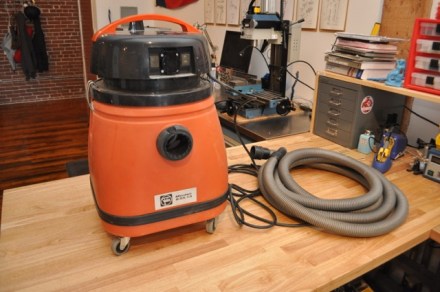
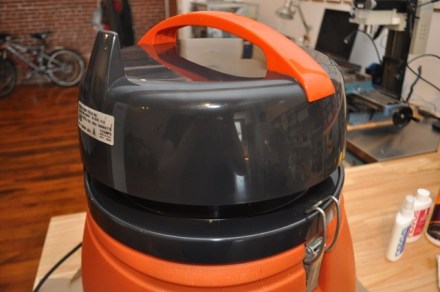
I looked at options from Festool, DeWalt, Fein, and Nilfisk. After some comparison shopping, I realized I had Festool dreams on a Shop-Vac budget. Per usual, when I want a high end tool I check the used market. After some searching on craigslist, I found a great deal locally on a used Fein Turbo II. It checks the box on just about every feature listed above.
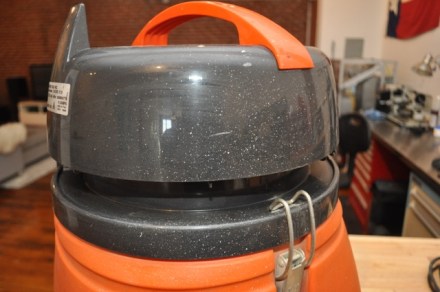
Once I got it home I noticed that it had some white over spray on it.
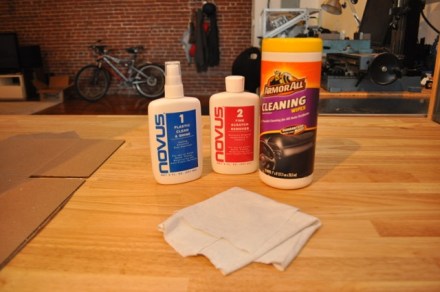
I used Novus #2 fine scratch remover to take off the paint. The small bits of paint came off pretty easily, but the larger ones took some scrubbing. To give the plastic back some of its luster, I followed up with #1 plastic clean & polish. The lower orange plastic body didn’t have the same level of overspray, so I just used Armorall cleaning wipes.
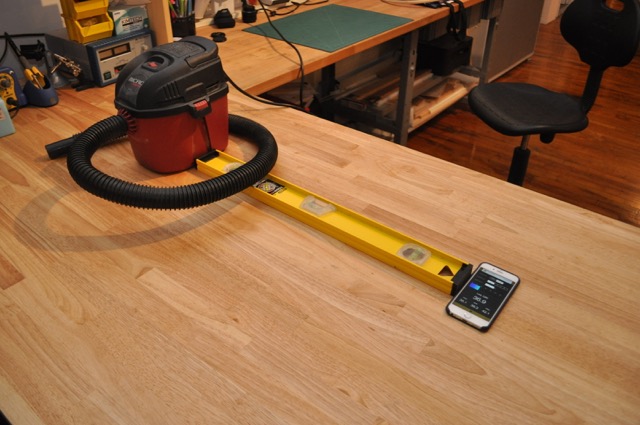
After cleaning up the vacuum, I did a quick comparison of the noise generated by this new vacuum and my old mini Shop-Vac and the difference was astounding. The Fein sounded like a muffled household vacuum, the ShopVac sounded like… your typical wailing Shop-Vac.
Since I don’t have a legit SPL meter, I used the next best thing: a free app on an iPhone. The mini Shop-Vac came in at about 82 dB, comparable to a garbage disposal or blender. While this setup is far from laboratory-like conditions, the measurement from the Fein vacuum at 68 dB did match well with vacuum cleaner noise levels. After performing this test I found advertising material for the Turbo II that list the noise level at 57.8 dB from 3.5 ft away. In my setup, the iPhone was 2 ft from the vacuum.


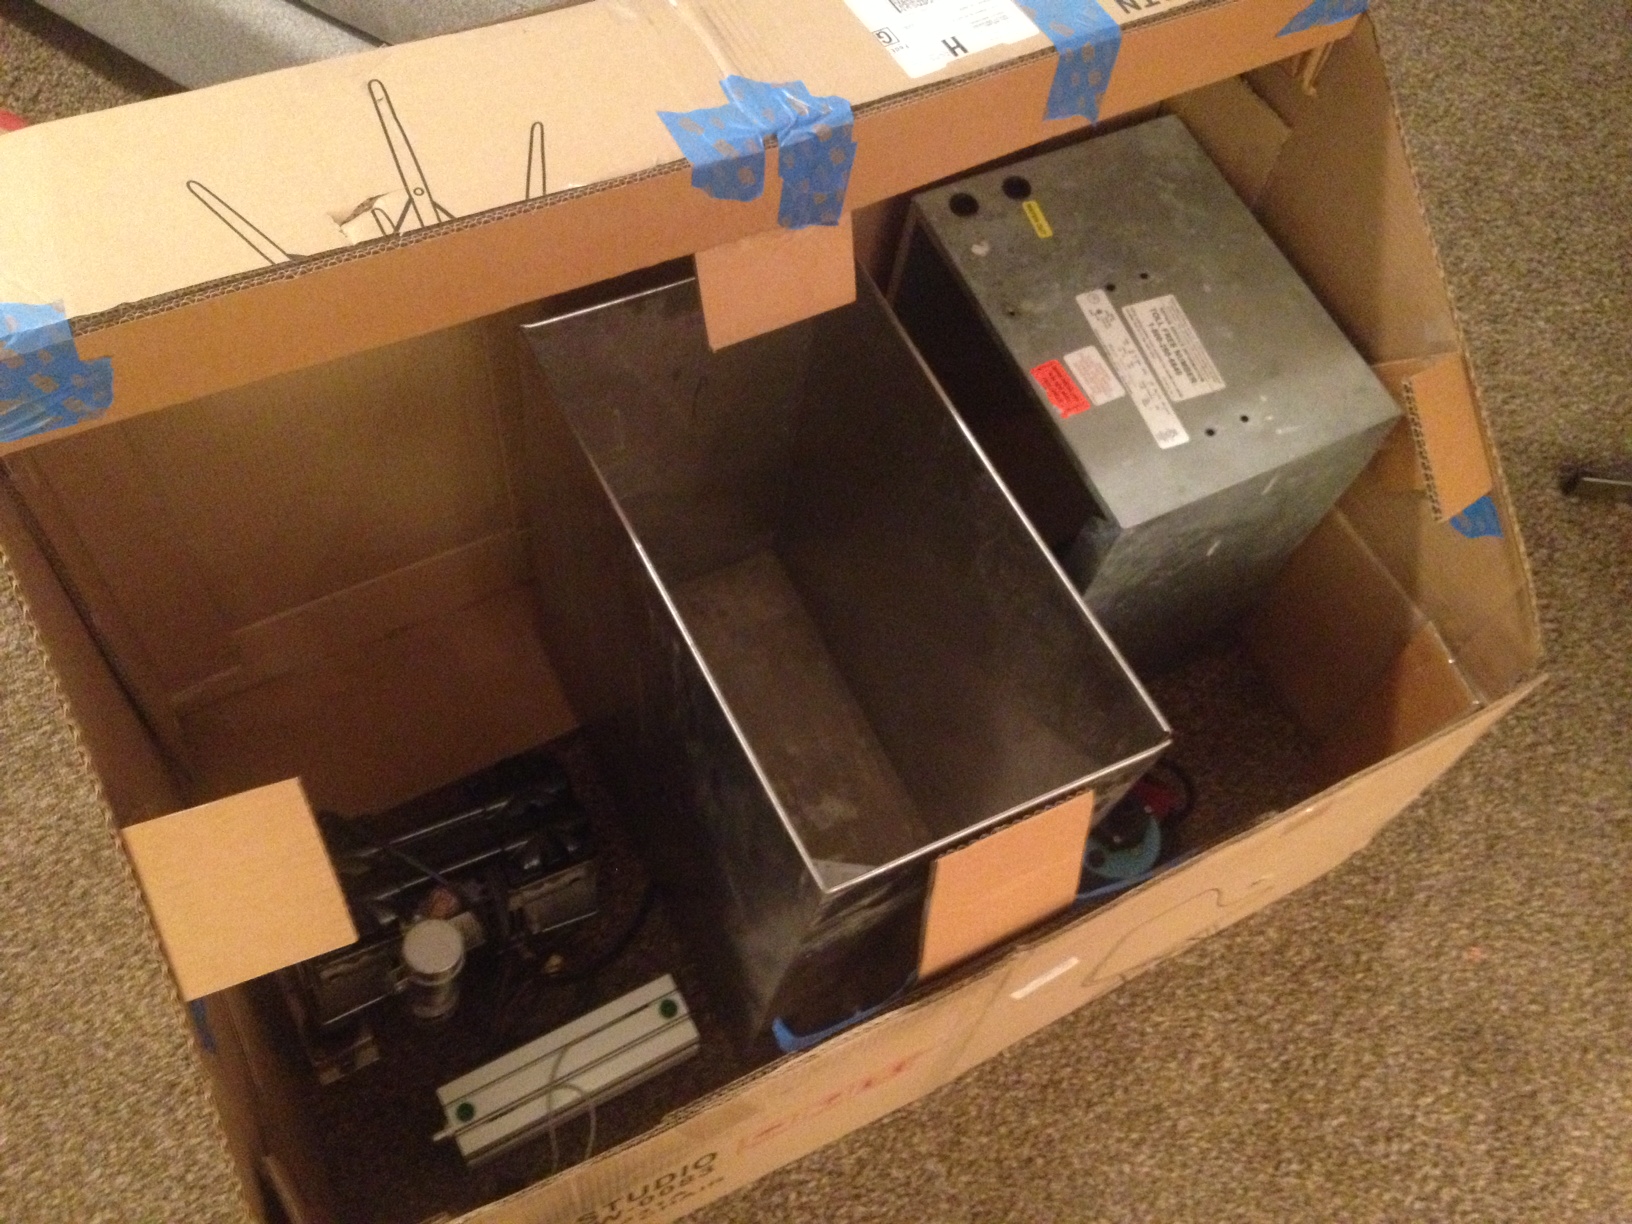
During the sound testing, I noticed small bits of crumbling gray foam on the table. I tracked the source down to the exhaust port of the vacuum. A little searching online showed this to be a common problem for older Fein vacuums and was attributed to foam inside the motor housing deteriorating and being blown out the exhaust.
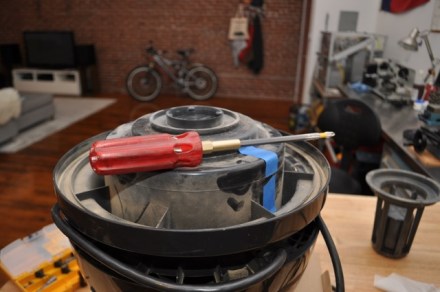
I started by removing the float and float cage from the bottom of the motor.


Next up was the motor cover. To reach the screws buried deep in the motor housing, I used a long Phillips bits in a screwdriver handle. Note to self: add long screwdrivers to my wish list.
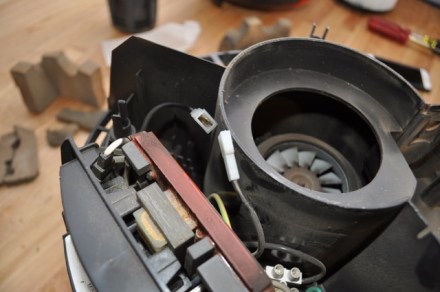
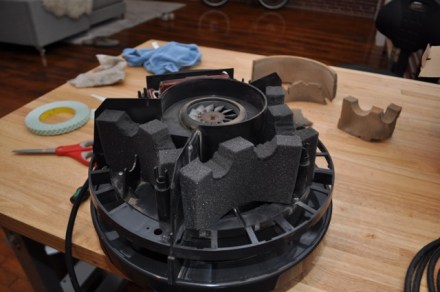
Removing the cover revealed the extensive use of foam by Fein to muffle exhaust and motor sounds. No less than 4 different areas were covered in varying thicknesses and shapes of foam. The old foam was brittle and crumpled at the slightest touch, likely due to a combination of age and heat from the motor.
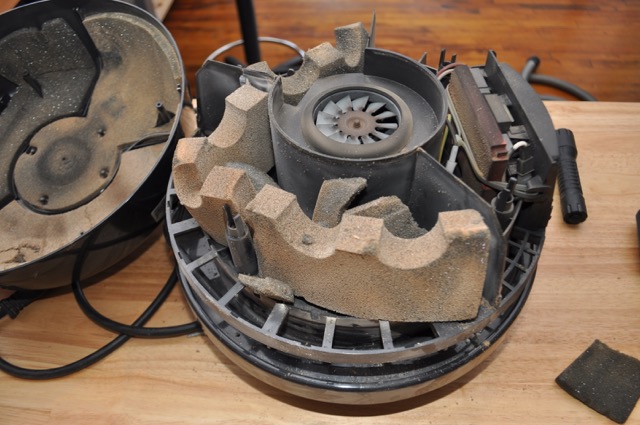


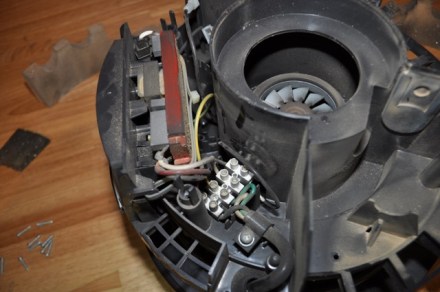
Peering down to the actual motor, I could see more foam fragments buried further. Removing the next layer of housing required disconnecting the two leads going to the motor. One is a spade connection and the other is in a terminal block.
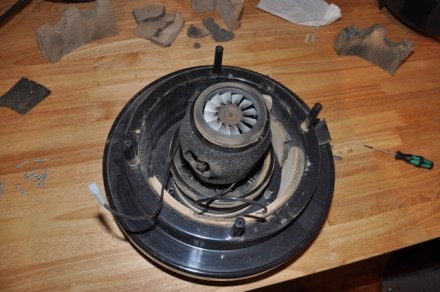
The last crumbling foam part was finally visible. Surprisingly, the foam around the actual motor was still intact and resilient.
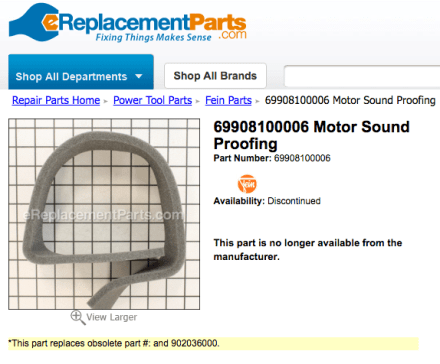
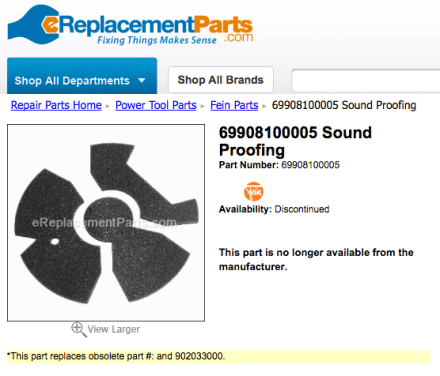
My first instinct was to order a replacement foam set, but alas Fein has discontinued many of the spare parts, including the foam.

Looking closer at the intact foam around the motor, it reminded me of the sound absorbing foam used to line the inside of recording studios. I checked McMaster and some other online retailers, but couldn’t find the correct type and thickness. Luckily a local foam supply store carried both thicknesses I needed, and it was super cheap.
Based on appearance and density, the foam seemed to be a close match to the foam still on the motor.

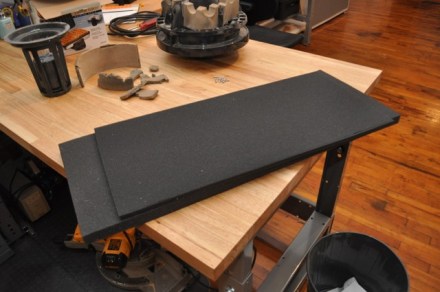
I made patterns of the foam parts and cut out replacements. A bread knife cut through the foam wonderfully. The key is to use long strokes rather than a short sawing motion.


One of the foam inserts on the cover is retained with push nuts. These can be tricky to remove without breaking the plastic post, so I left this one in place. At the time, the foam seemed to be in relatively okay shape, but it’s recently started shedding particles. Eventually it will need to be replaced too.

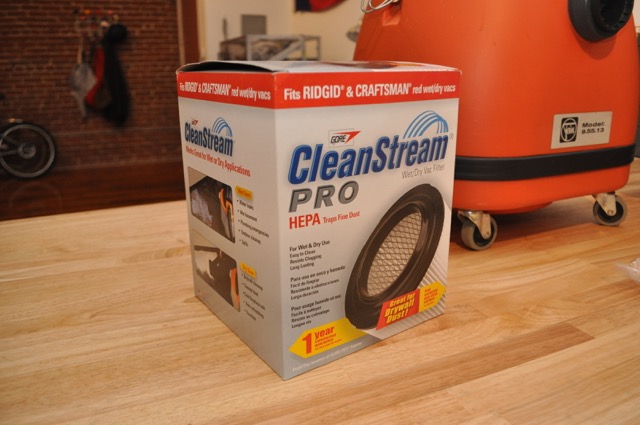
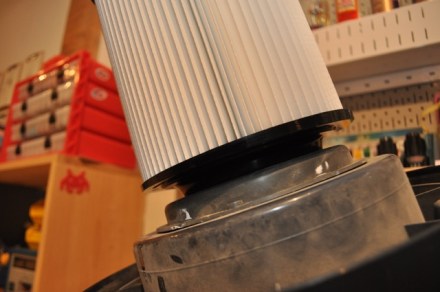
After reassembling the vacuum, I swapped out the fleece filter for a paper bag and added a HEPA filter. The Fein branded one costs nearly $100. A much cheaper option is the Gore CleanStream filter for Rigid/Craftsman vacuums. The CleanStream is a little bigger and lacks the positive lock feature of the OEM filter, but the friction fit around the float basket feels secure.

It’s a few inches larger in diameter, but so far there doesn’t seem to be any noticeable impact on dust capacity.
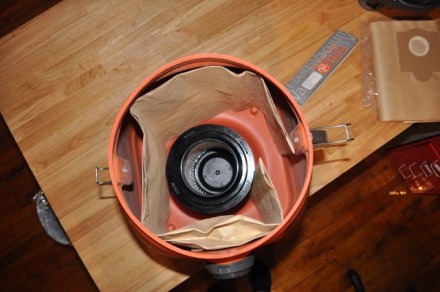

There’s a soft rubber seal that happens to match the Fein float cage perfectly. All that’s needed is a little force to fully seat the filter.
After repairing the foam and adding the HEPA filter, this vacuum is amazing. I was a little concerned that my miter saw, a DeWalt DW712, would draw too much current for the vac’s autostart function, but so far it has worked fine. My only negative for this particular model is the lack of hose and accessory storage, though Fein seems to have addressed this in the current model. I have some ideas for an add on storage solutions I might implement in the future.
Having used Shop-Vac type vacuums my entire life, I was a little skeptical about the necessity of all the features in high-end vacuums. While I’m still not at the point where I could justify any of the Festool models, the Fein Turbo series has all the features I need.