During testing I noticed the molder’s plastic injection pump stopped working after 2-3 consecutive pumps. If the molder sat for a few hours it would work for a few shots, but shoot blanks soon after. The path from plastic melt tank to mold goes like this:
1. The injection cylinder retracts, creating a vacuum in the pump body, which draws plastic through a check valve and into the pump body.
2. With the pump body full of molten plastic, the injection cylinder extends, building pressure inside the pump, closing the check valve and forcing the plastic through the pump outlet
3. Hot plastic travels through a copper tube to the shuttle valve, if the shuttle valve is in the plastic injection position, the plastic pass through the valve and up to the opening in the bottom of the mold.
I checked that the shuttle valve in the pump body was switching and that the injection cylinder was extending fully, both were operating correctly. The next place I could see a problem occurring was at the pump inlet and check valve.
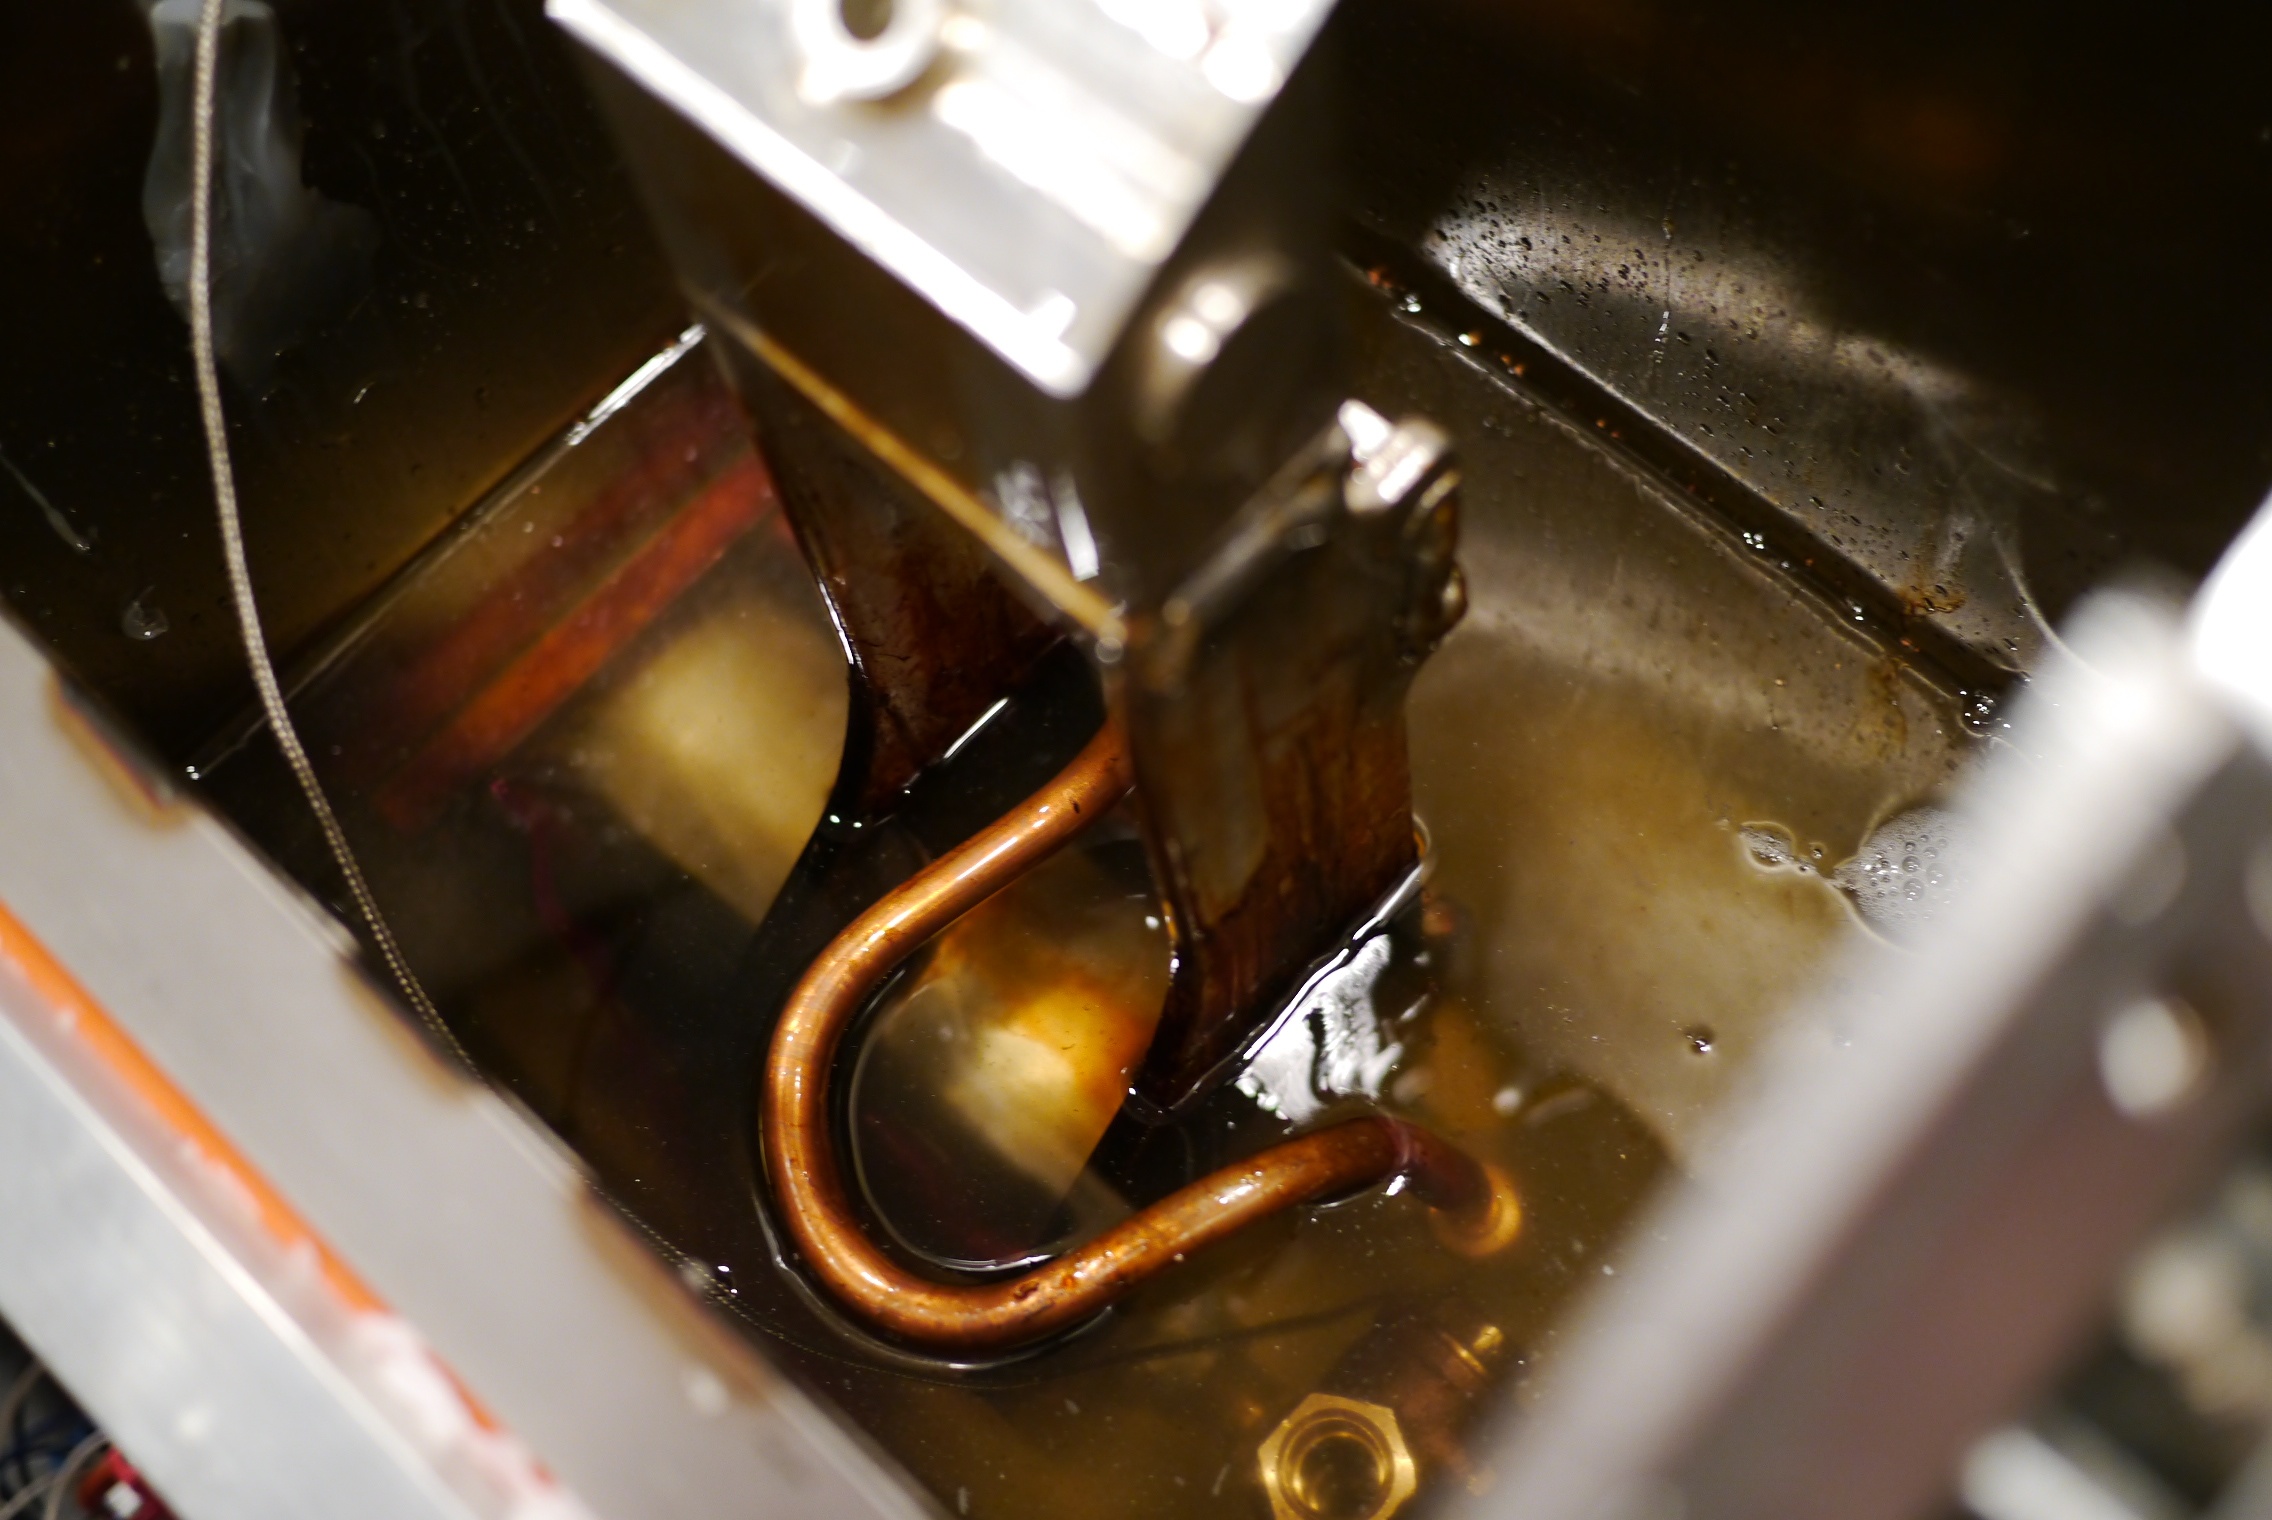
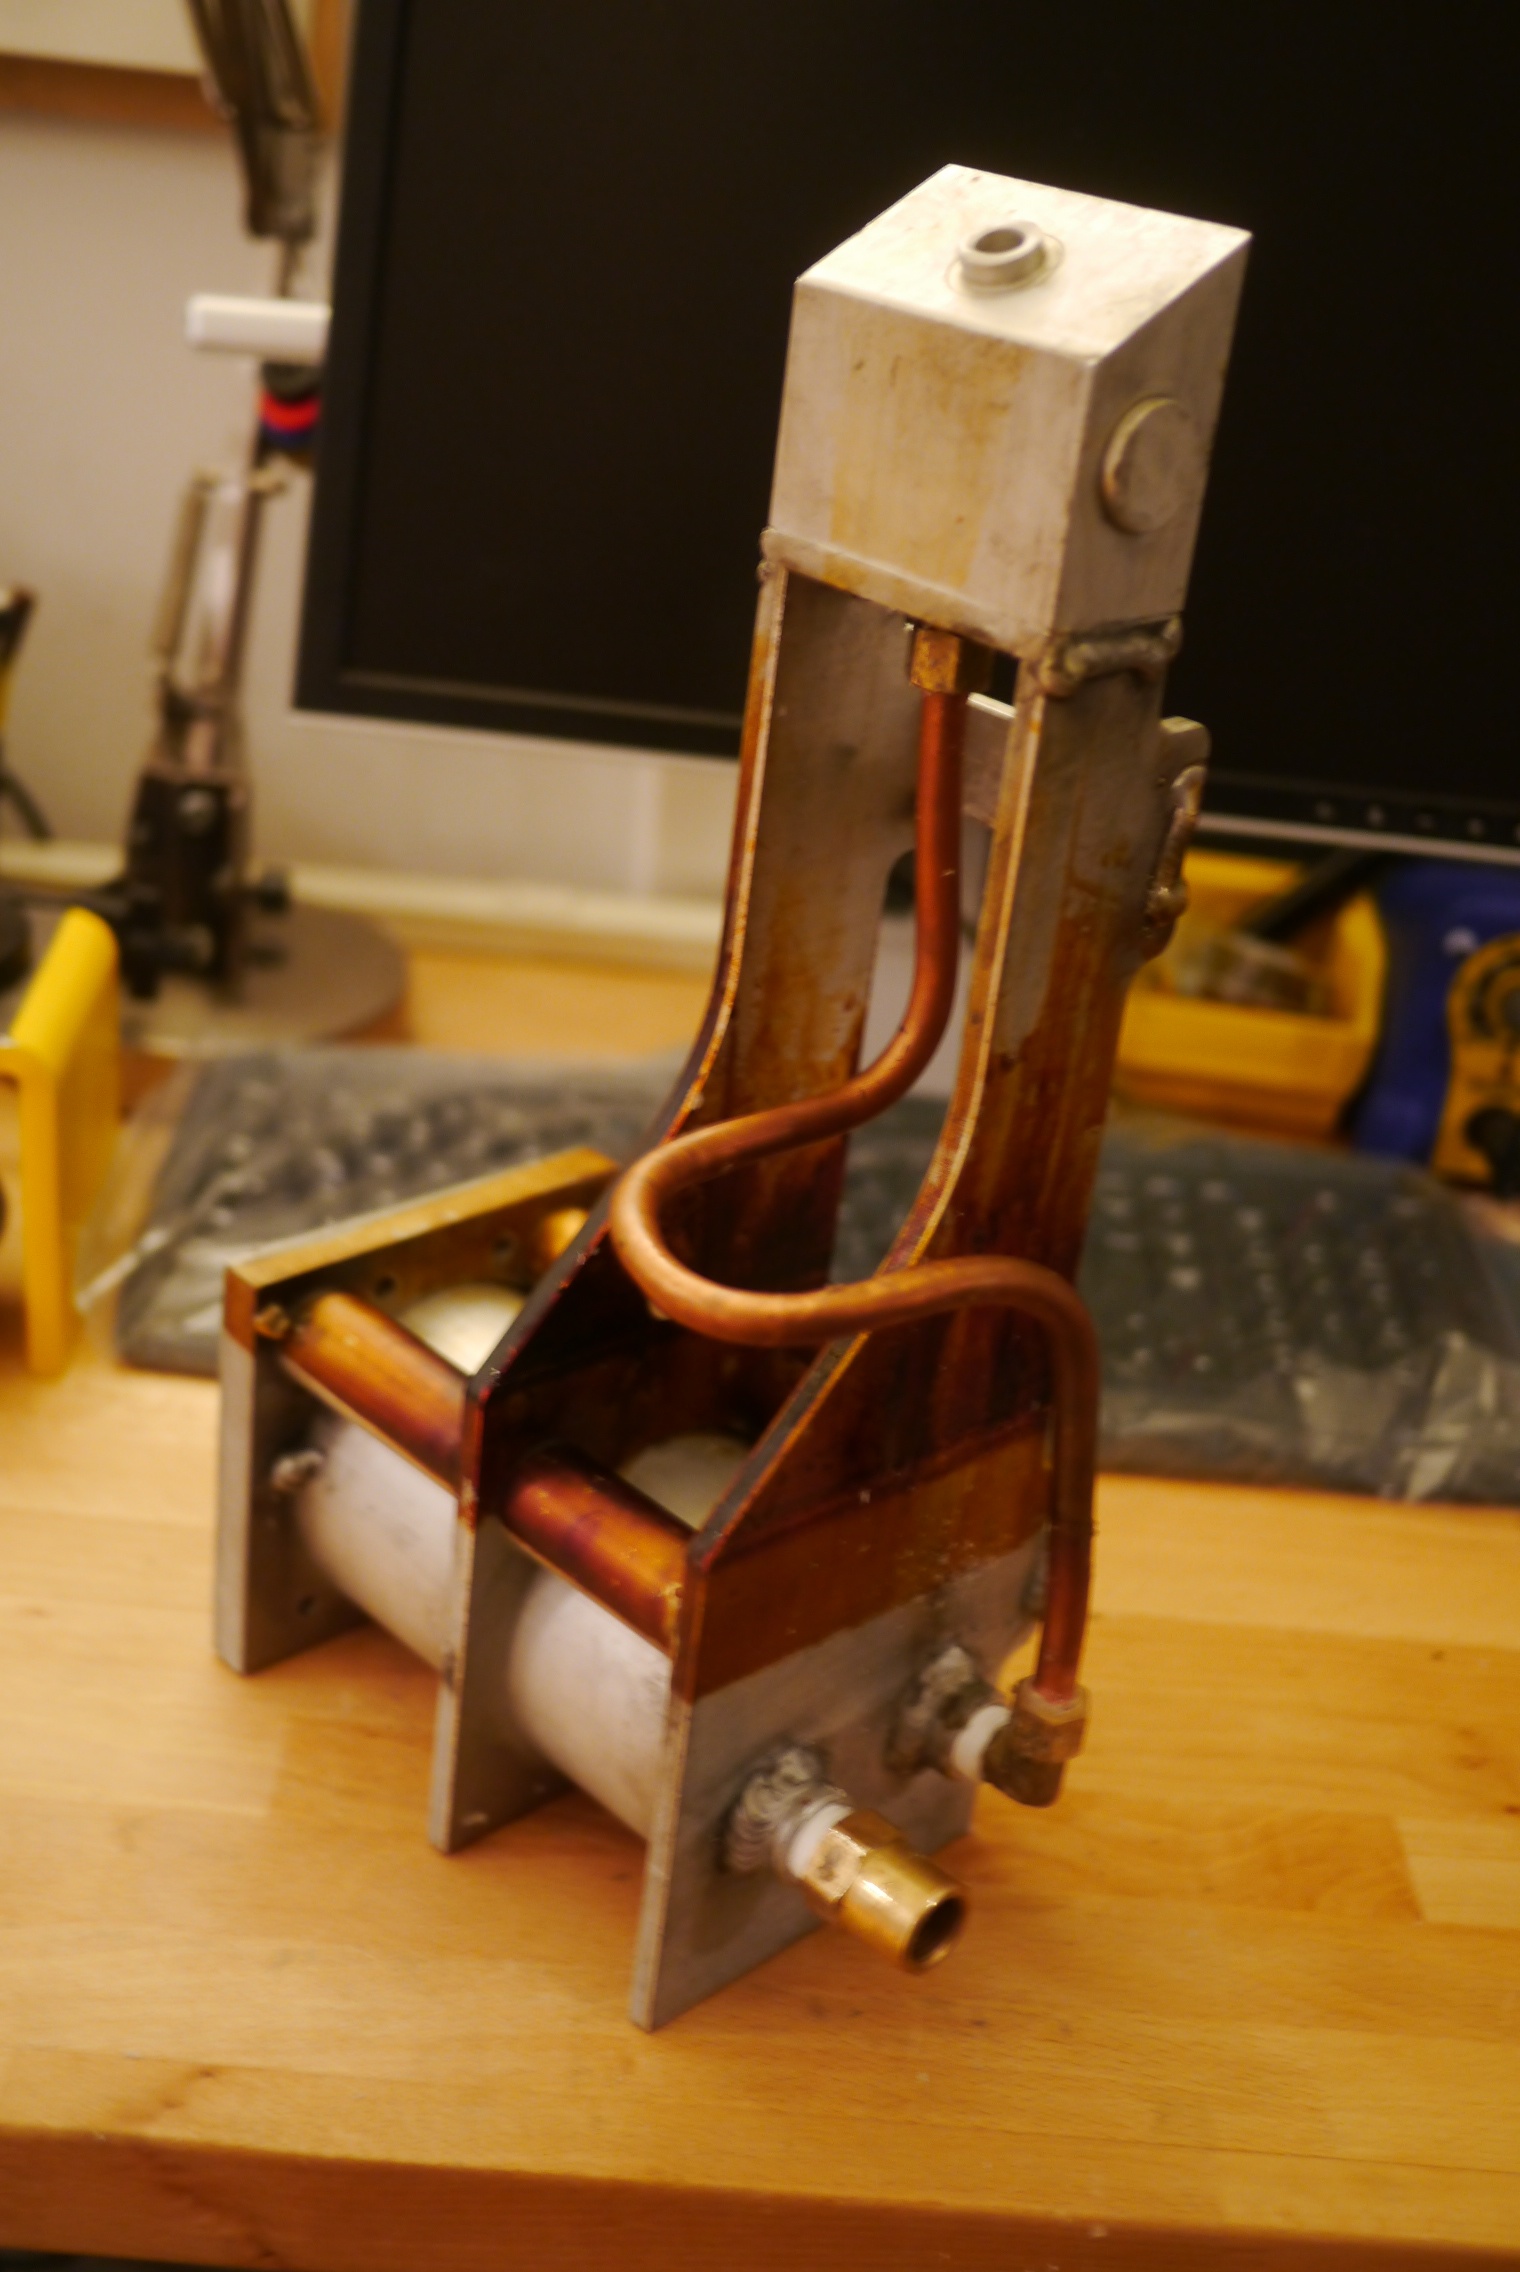
Getting to the check valve means removing the pump body, which means draining the tank. I put a drain port on the tank, but the close proximity to the base make draining a bit of a task. A make shift funnel made from aluminum foil did the trick.

After removing the pump body from the molder I inspected the check valve and found a few particles, burnt plastic and bits of cork insulation, but nothing that would clog the inlet completely.
While I had the check valve out, I inspected the flow path through the valve. The path consisted of some very small holes (~0.050″), the molten plastic having the constancy of honey, this particular check valve could not possibly have flowed enough to recharge the pump when the piston retracted. It’s clear I didn’t consider the viscosity of the working fluid when choosing the check valve.
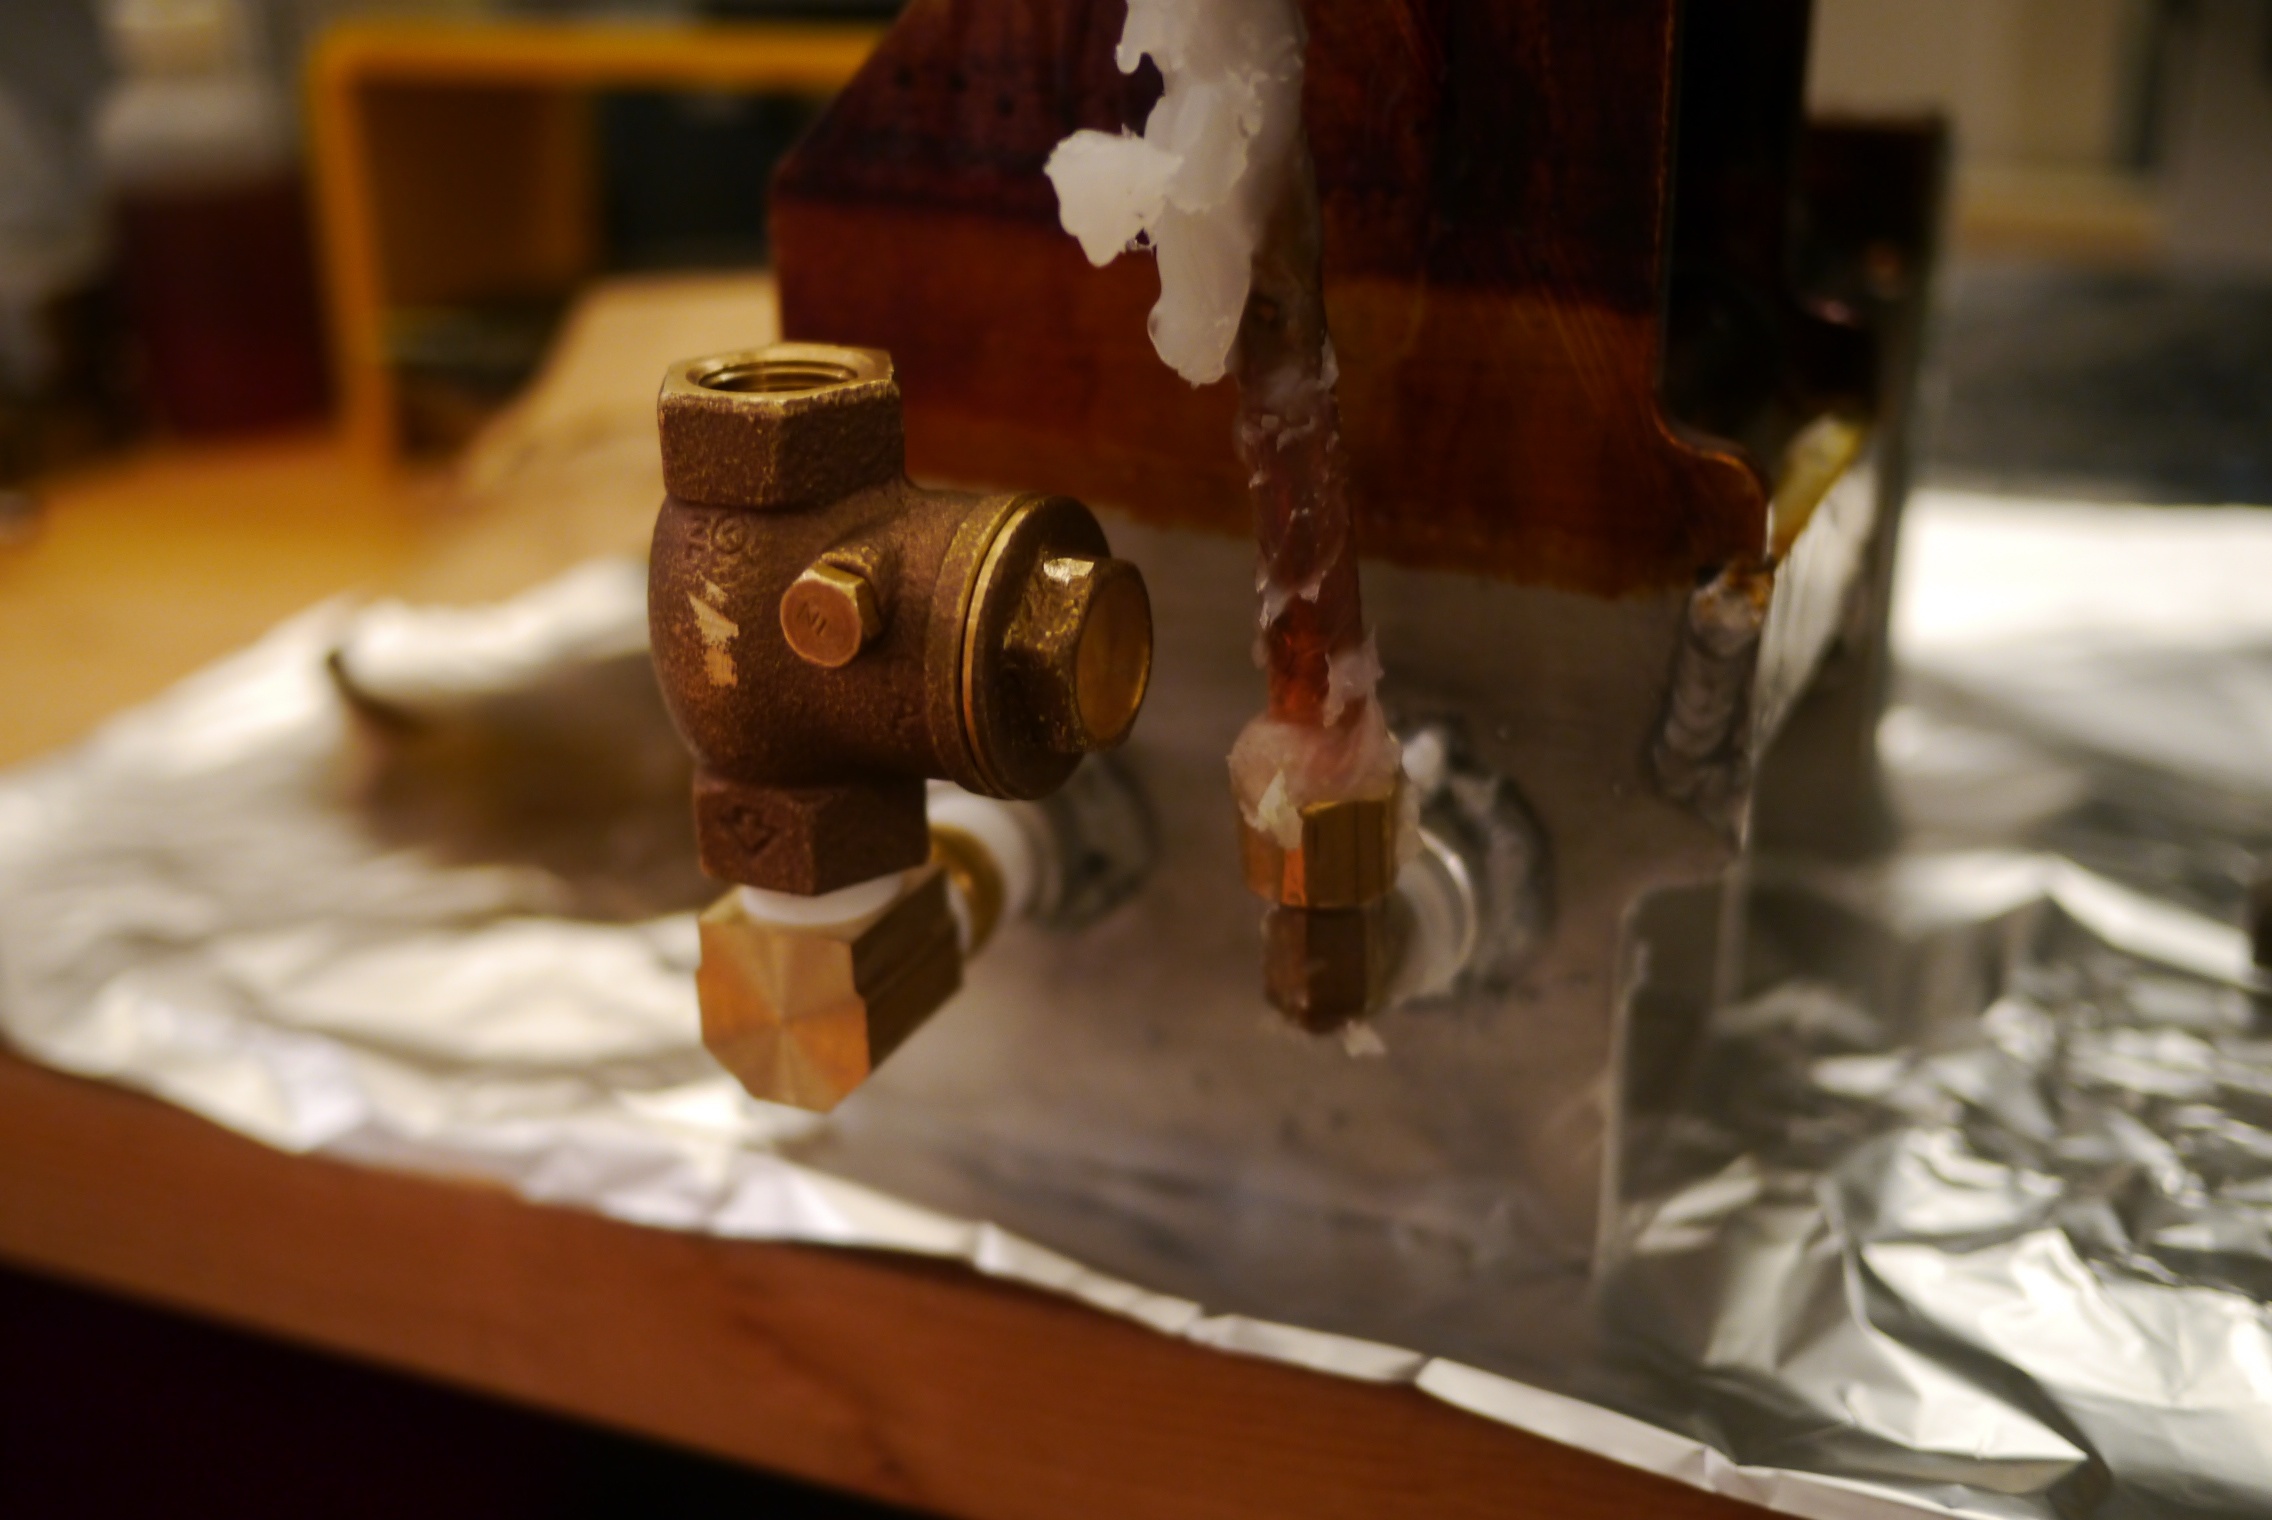
I looked for a check valve with the largest flow path that would fit on the 3/8″ NPT pump inlet. That happened to be a swing style check valve. The new check valve is much larger than the old one, so much so that it won’t fit in the same spot, coming directly out of the pump. A 90 degree fitting in between the pump body and the check valve put it in the upright position.
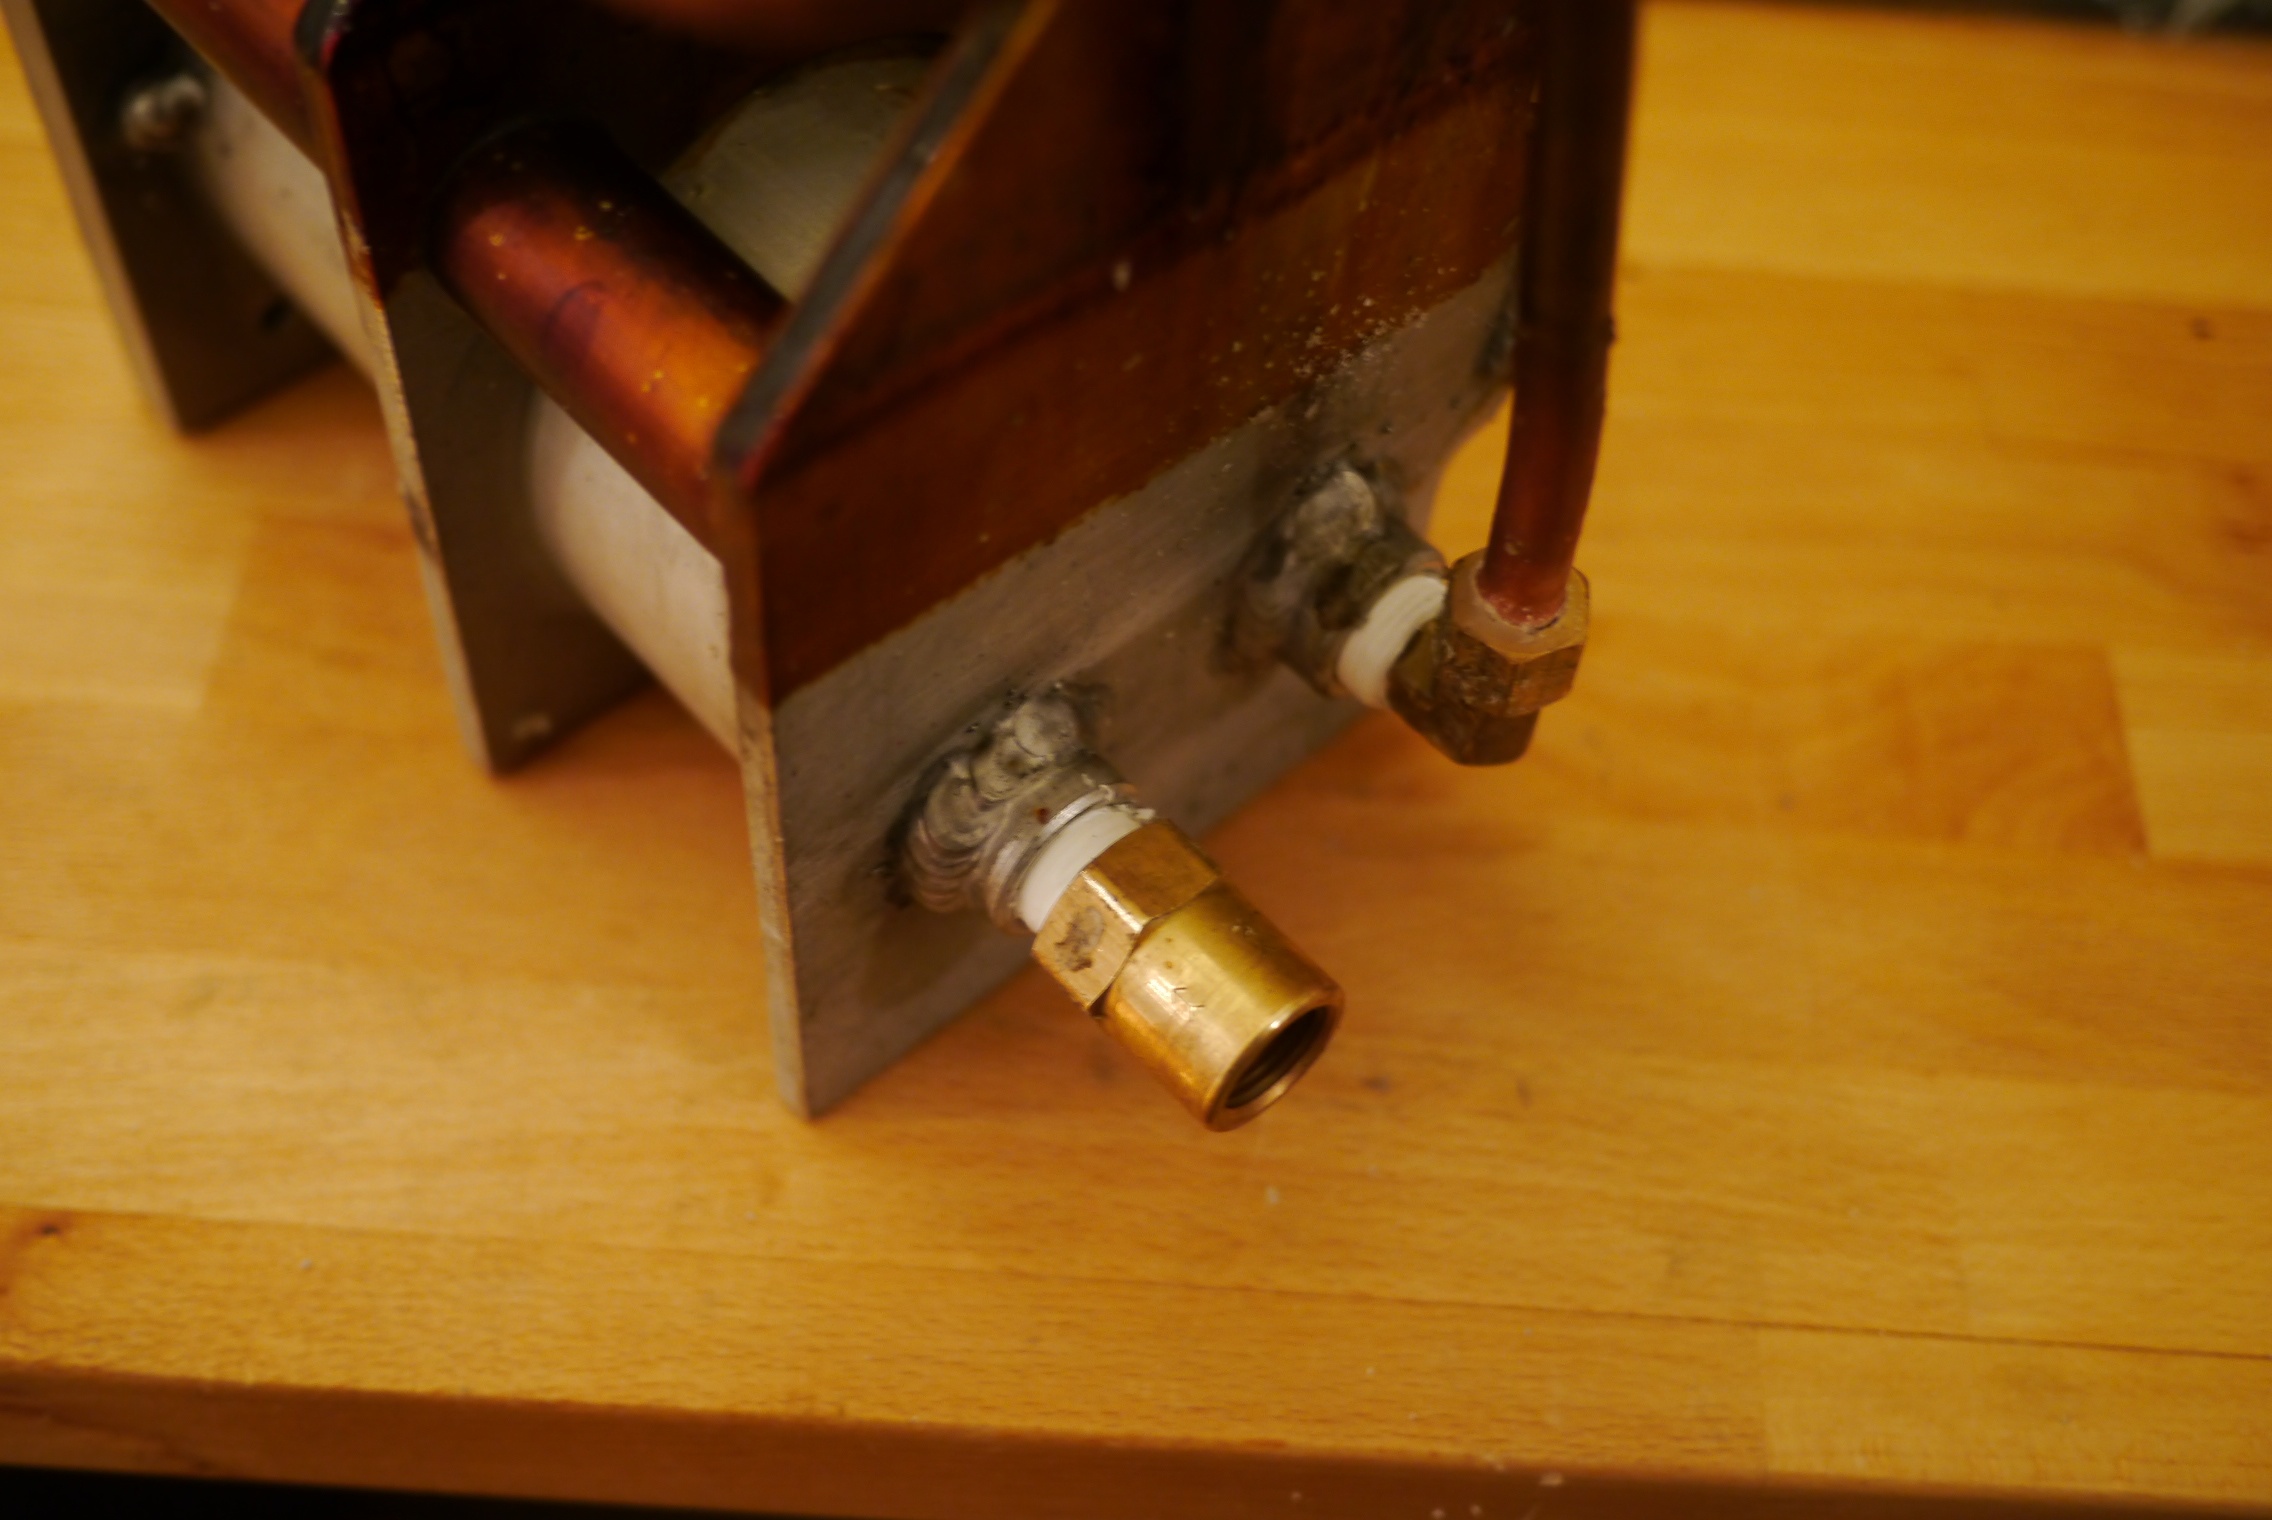
While I had the pump out, I took this opportunity to fix the threads in the pumps outlet port.

They had become cross threaded with the fitting that was installed, and was leaking when the pump pressure built up. A few turns of a 3/8 NPT tap and the threads were cleaned up.
Fast forward a few hours and the pump is installed and has a tank of liquid PE wax around it. Cycling the pump’s pneumatic cylinder it was clear the new valve was a huge improvement. You could see a steady stream of plastic flow into the check valve every time the cylinder retracted. Cycling the injection cylinder back and forth yielded a consistent flow from the shuttle valve outlet.