
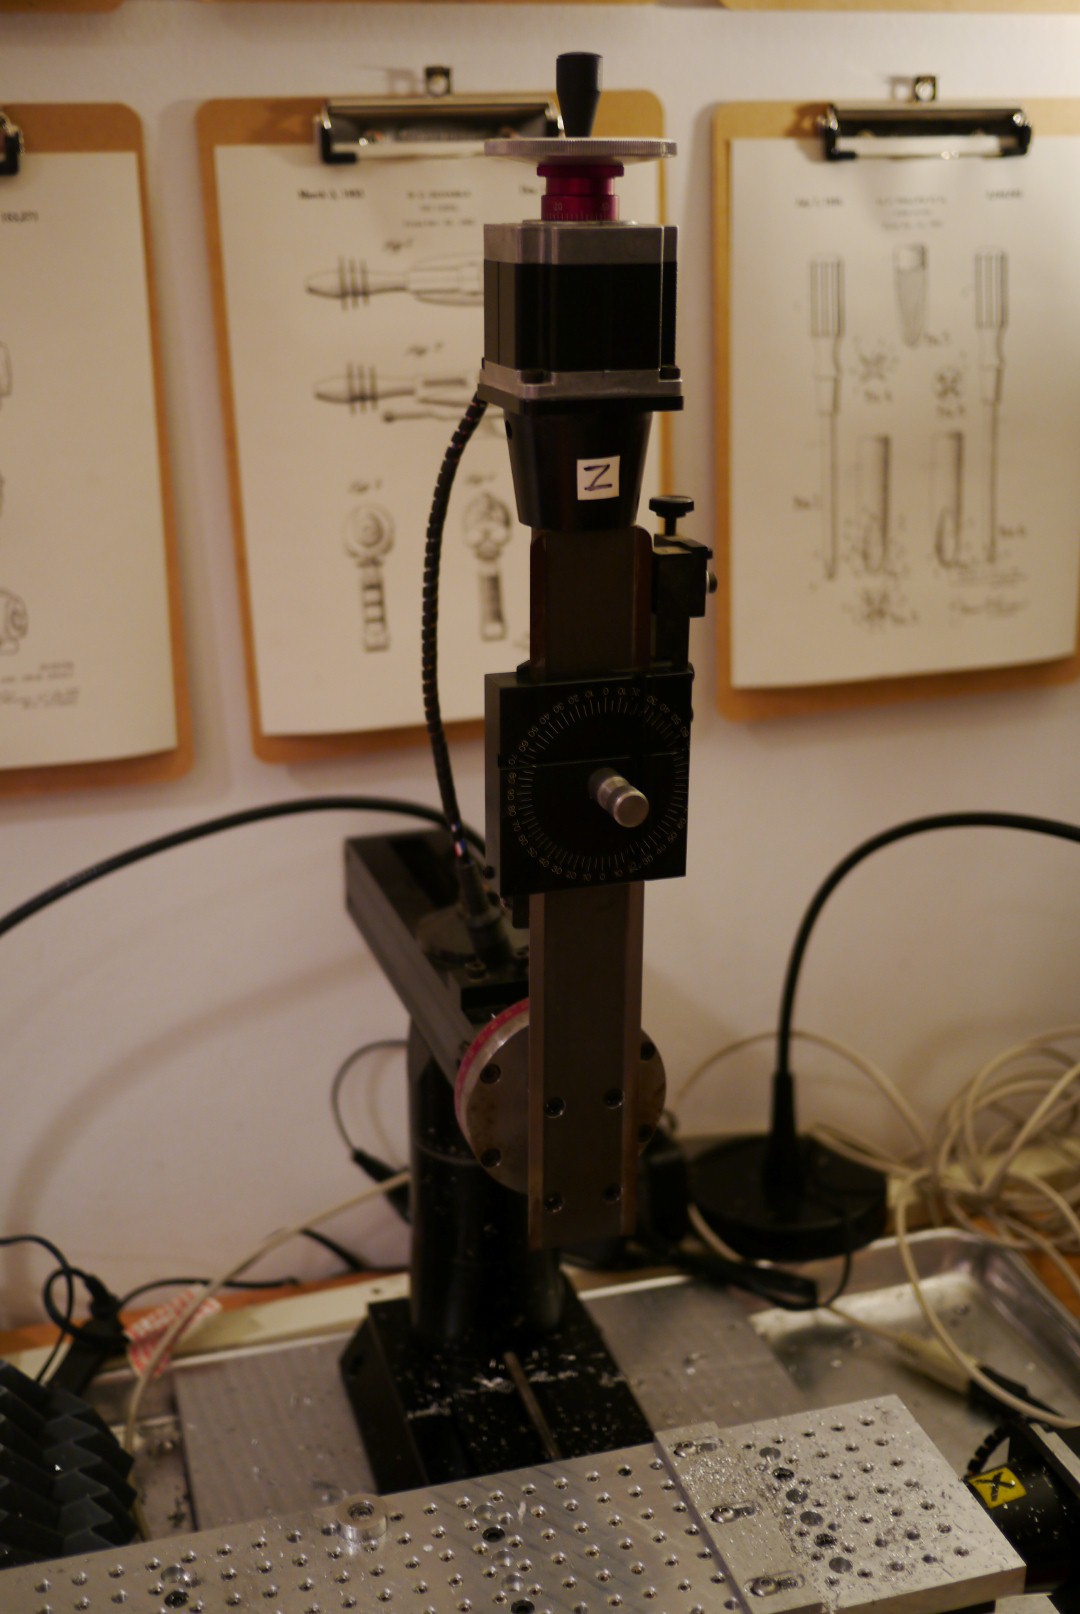
A while back I finished the CNC conversion of the Sherline 2000 mill I bought off craigslist. Now that I’ve had a chance to use it I can say it fails in a few respects. First is that it is a pain to tram, there are so many axis with movement that it takes forever with a DTI (dial test indicator.) I got a nano tram off eBay, but did not have any luck getting that to work. Checking with a DTI after aligning it showed it was consistently off in both axis by about 0.005-0.008″ or more. The instructions say to use a feeler gauge to fine tune the alignment, but that kind of defeats the point of its supposed dead simple alignment procedure.
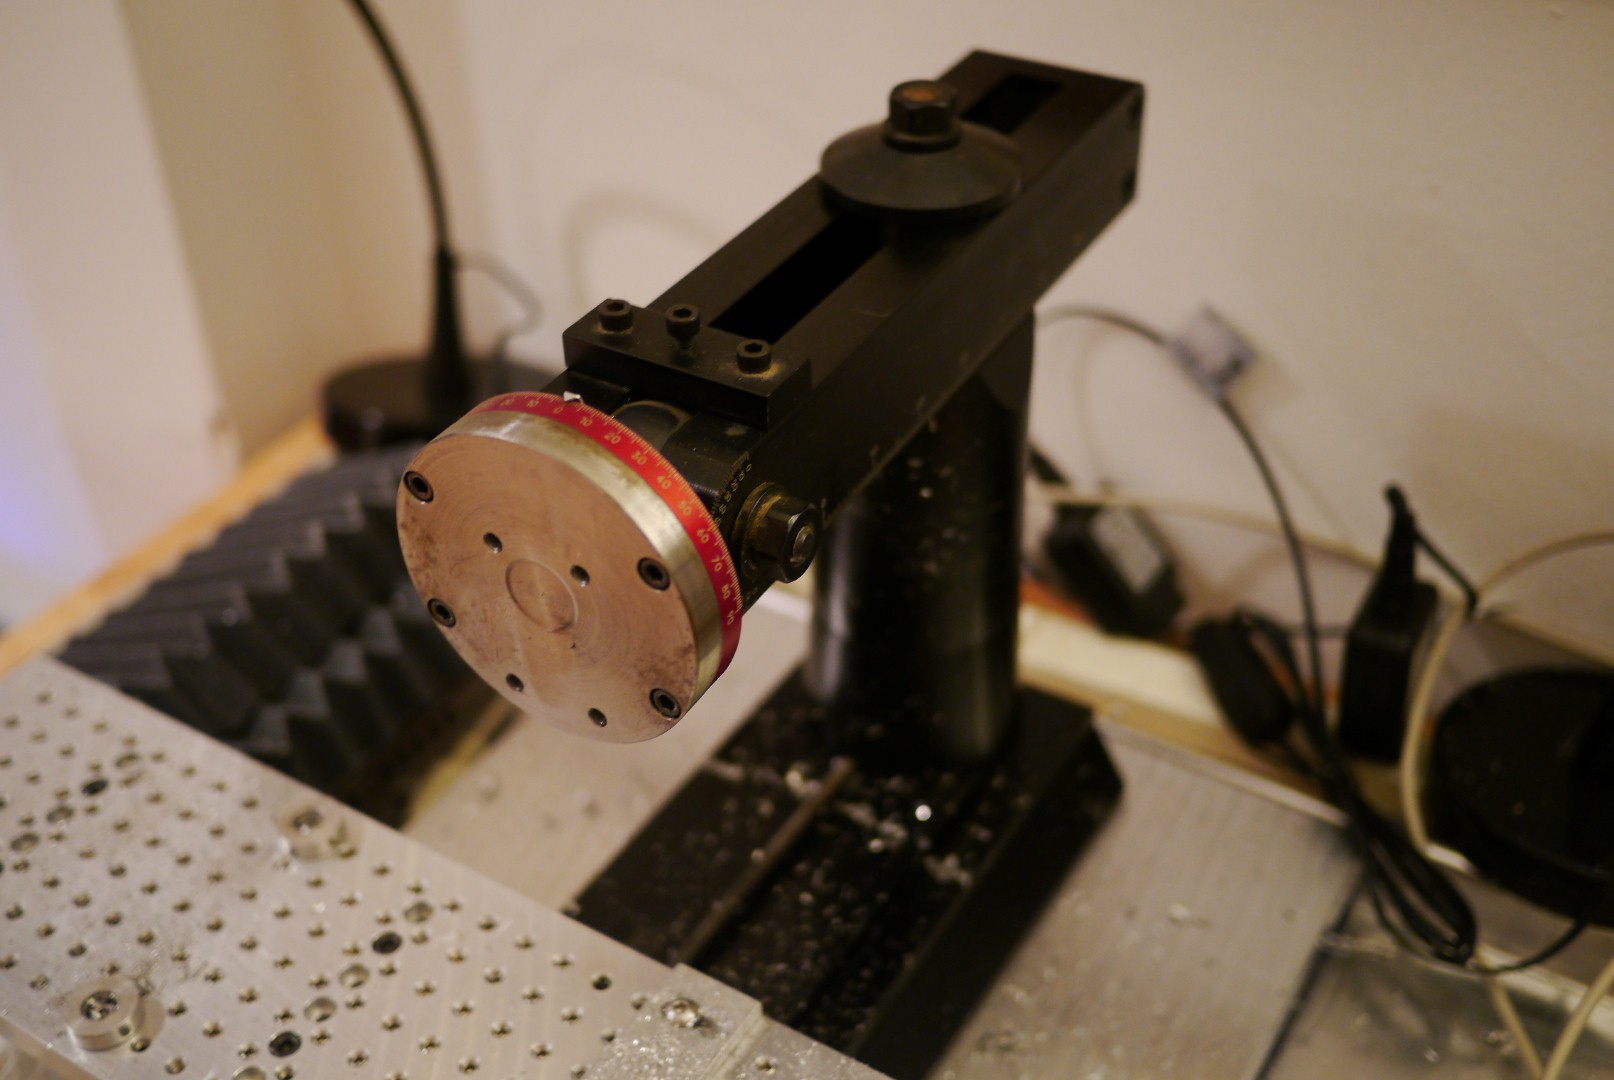
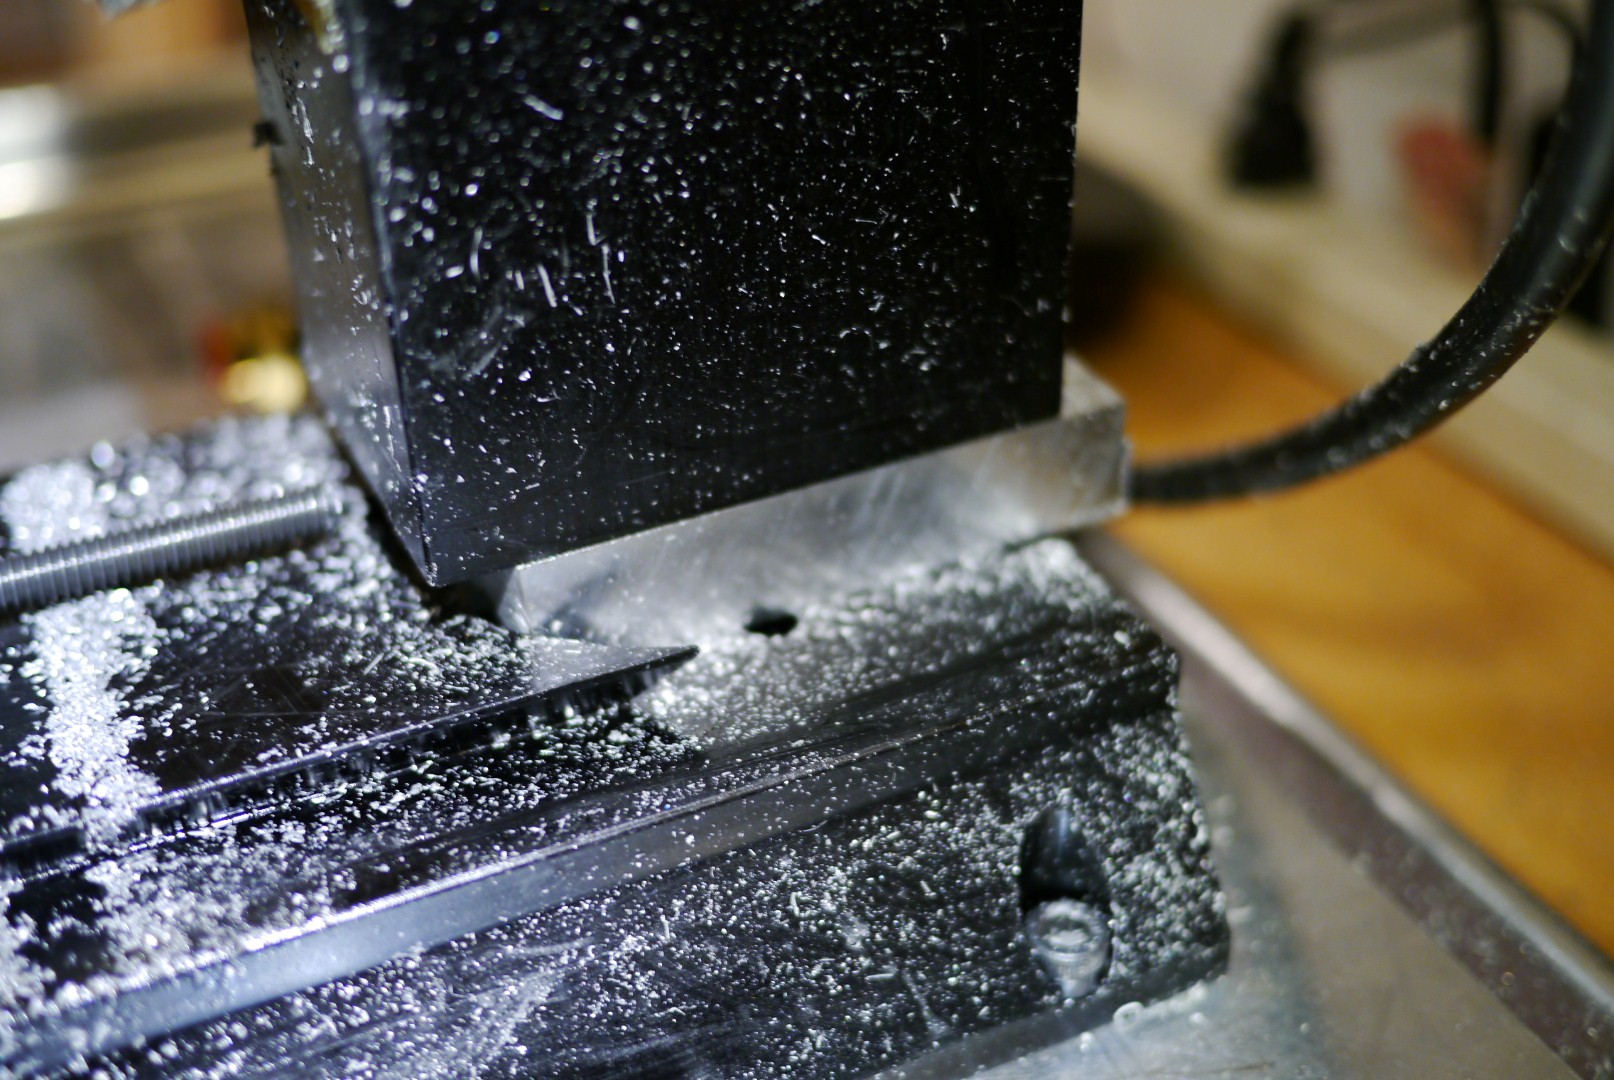
The second issue is that the head stock gets knocked out of alignment by taking some pretty light cuts in aluminum (~0.010″ depth of cut). No matter how much I cleaned the mating surfaces and tightened the bolts, the column still shifted.
The adjustable headstock may be useful for certain weird setups, but unless you are cutting exclusively plastics or wood I cannot recommend it.
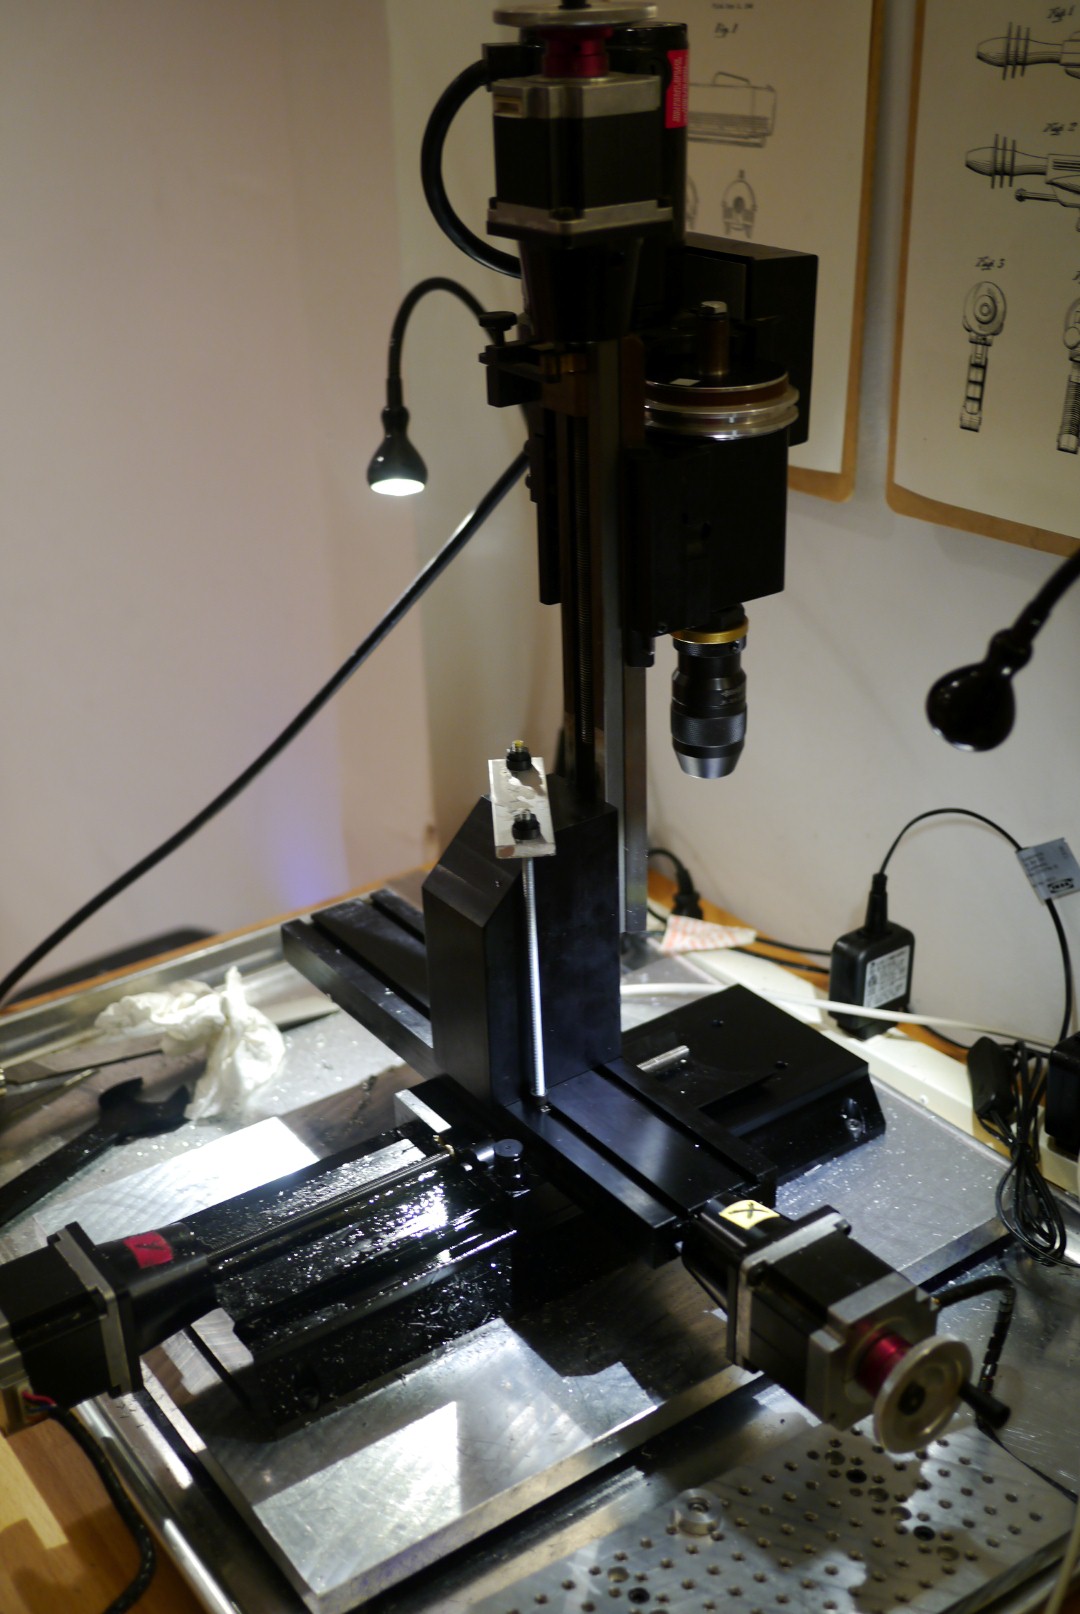
After ruining one last part on the 2000 mill, I decided to convert it to the solid column of the 5400. Since I reused the existing 14″ base, I ended up with a mill that has 2″ more Y travel than the 5400.
If you want to do this conversion you’ll need to order PN 50050 from Sherline, I paid $48.00 + shipping for it.
The conversion starts by removing the head stock.
Unbolting the z axis dovetail
And removing the column assembly

For some reason the bolt pattern on the base of the 2000 mill is different than that of the 5400 mills, so you need to drill two new holes to mount the column. This guy has a clever way of turning the mill on itself to drill said holes. I followed his method, using pieces of 10-32 all thread and a piece of .25″ x 1.00″ aluminum flat bar.

Here’s a drawing of the new hole pattern I made. Note that the column bolts are not centered between the dovetail in the base (which is why the circular 2000 column cut out is not even). Basically drill two holes .5″ from the rear edge, spaced 2″ apart and centered between the edges of the base, with a letter F (.257″) drill.

I scribed lines into the base and aligned the drill using the pointed end of my center finder.

And drilled with a center drill followed by a letter F drill bit.

The solid column still will not bolt to your 2000 base at this point as there is interference between the column base and those little pointed ends of the dovetail. Rather than machine those off I made a spacer from a piece of 5/8″ cast tool plate I had leftover from the mounting plate I made for the mill.
Depending on how your mill base is mounted you’ll either need to counter bore the underside of the column mount holes in the base to accept a cap screw, or use a low head 1/4-20 bolt. I chose to do the latter.
One more thing, make sure you remove the z-axis drop down bracket from the z-axis nut. You don’t need this anymore and it will prevent the head stock from raising all the way up, limiting your z-axis travel. The 2000 mill needed it so that the headstock could lower all the way to the table.
Once the bracket is removed, you’ll need to use a shorter screw to attach the z-axis backlash bracket. Or use a spacer like I did.

The left over parts.
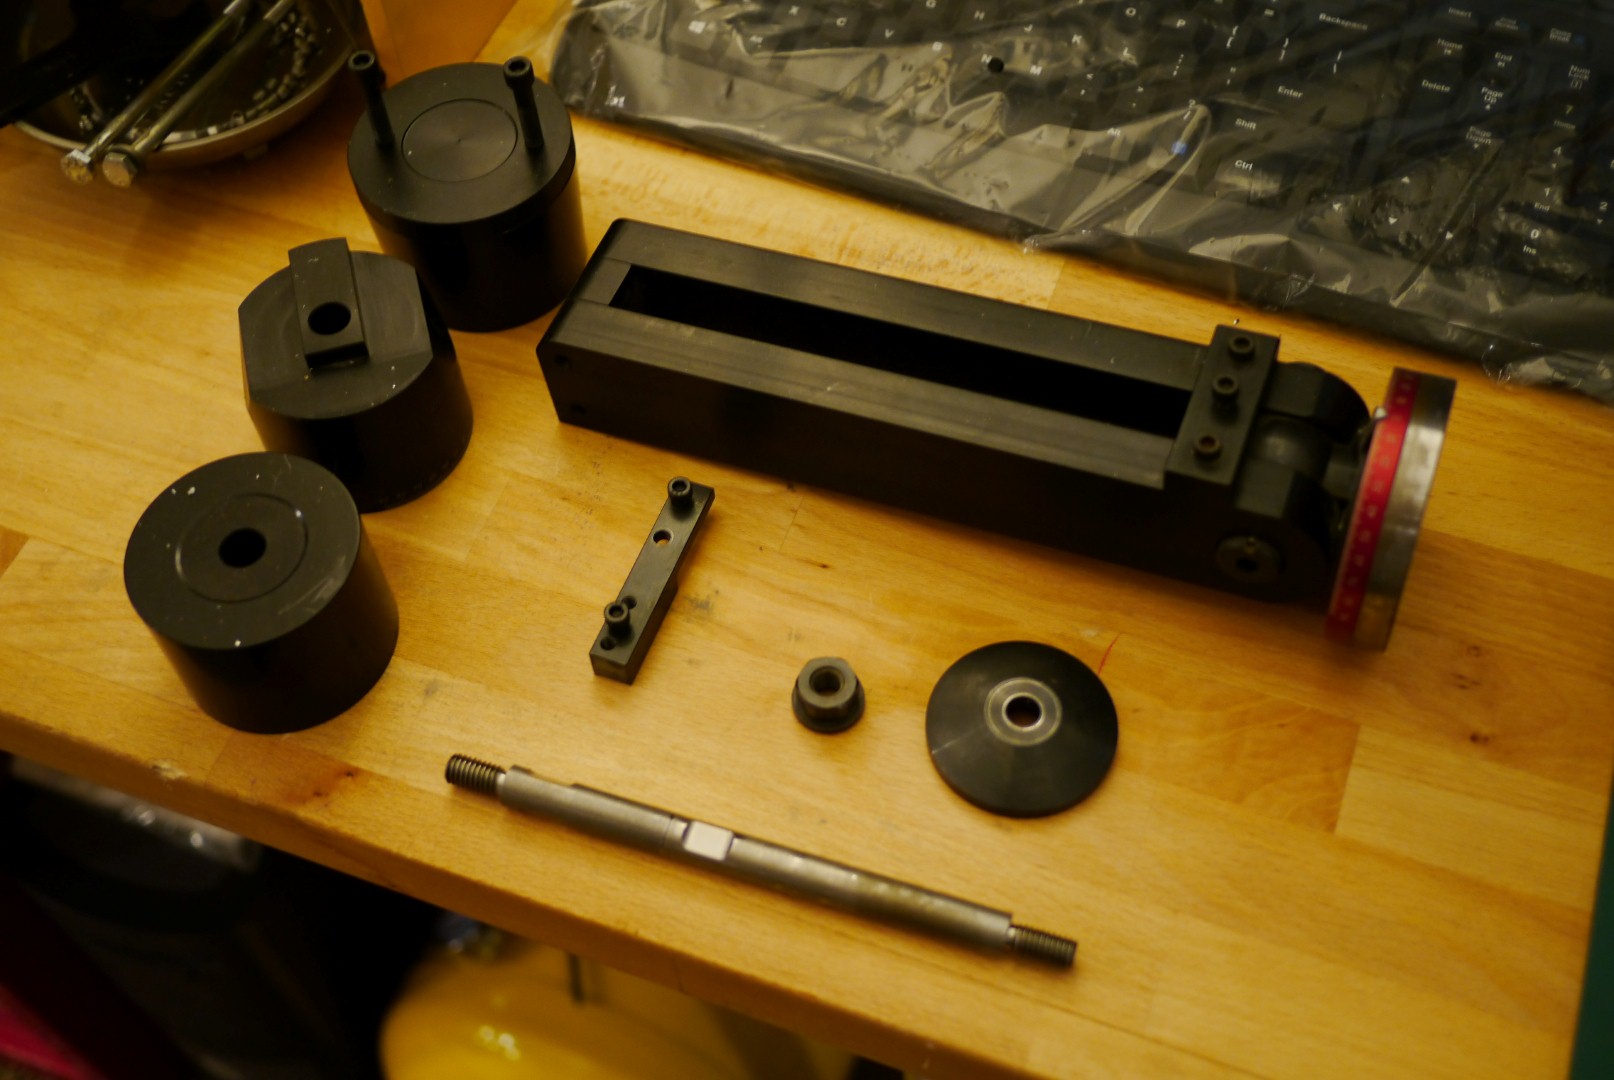
I’ll probably keep these around in case I sell the mill, or if for some reason I come across a setup that requires them.
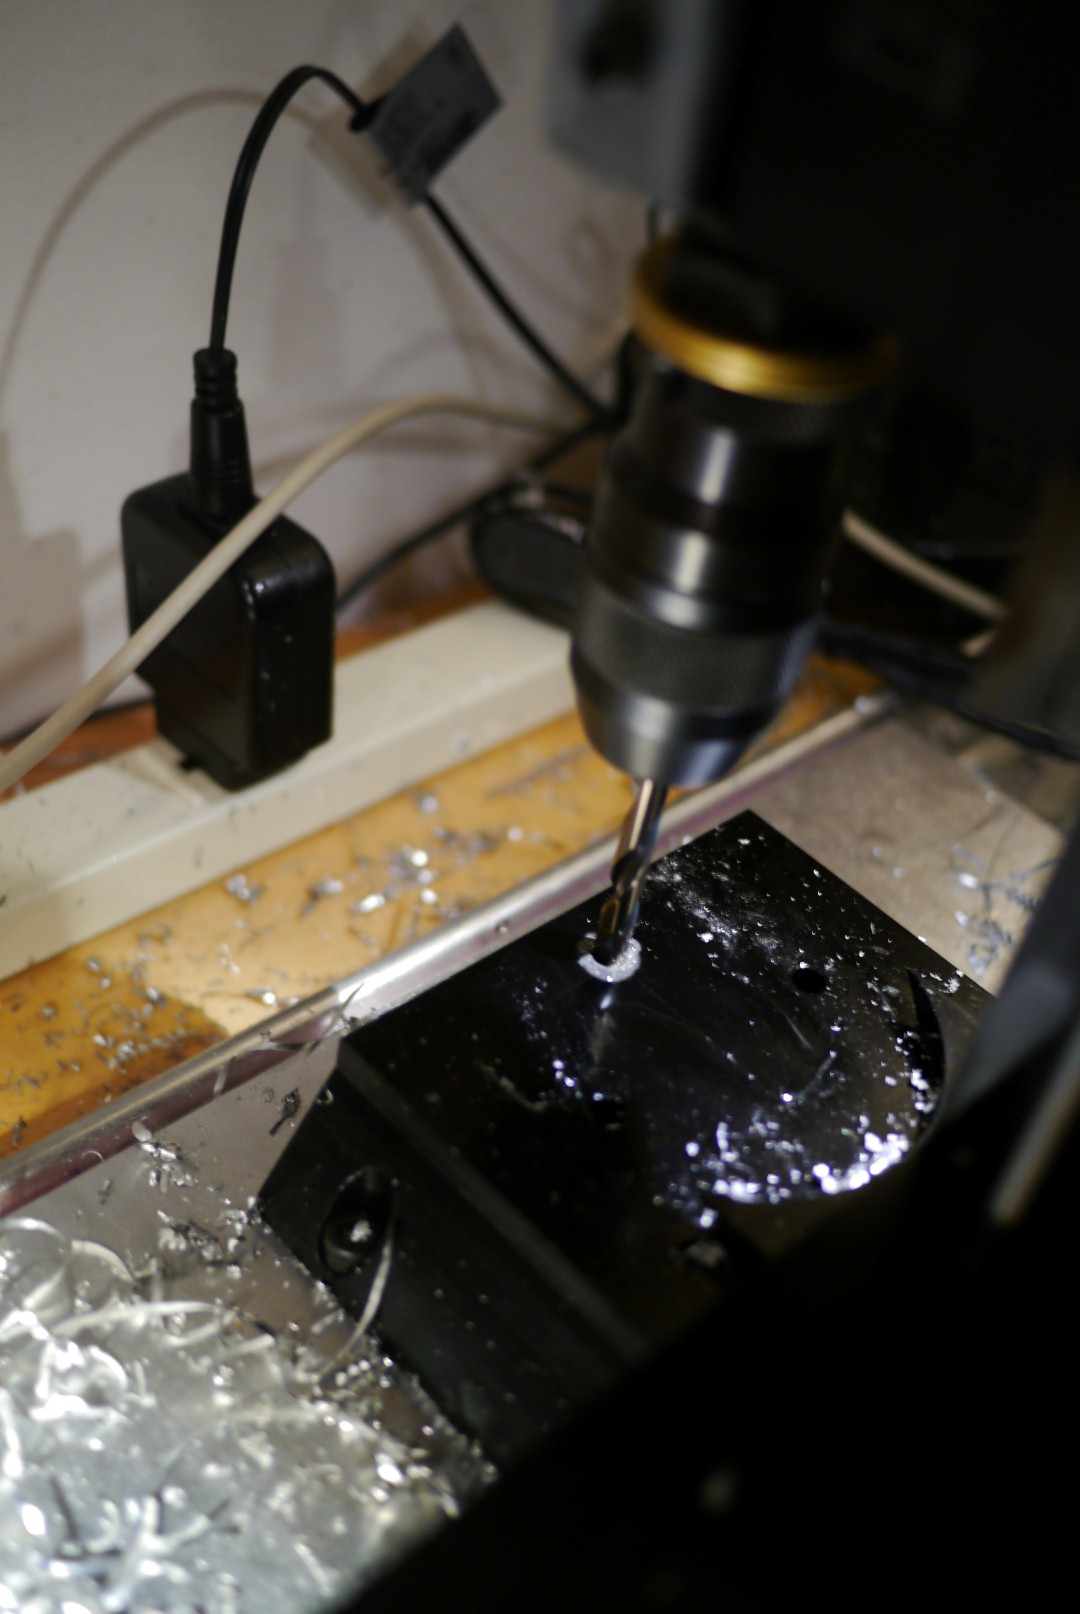
After the upgrade the difference is night and day while cutting aluminum. Much reduced chatter, more aggressive cuts possible, and the column stays in alignment. It’s like getting a whole new mill for $50.
