
After nearly getting a serious burn from flying 240 degree plastic, I decided the molder’s cover needed to be moved up higher on the priority list:
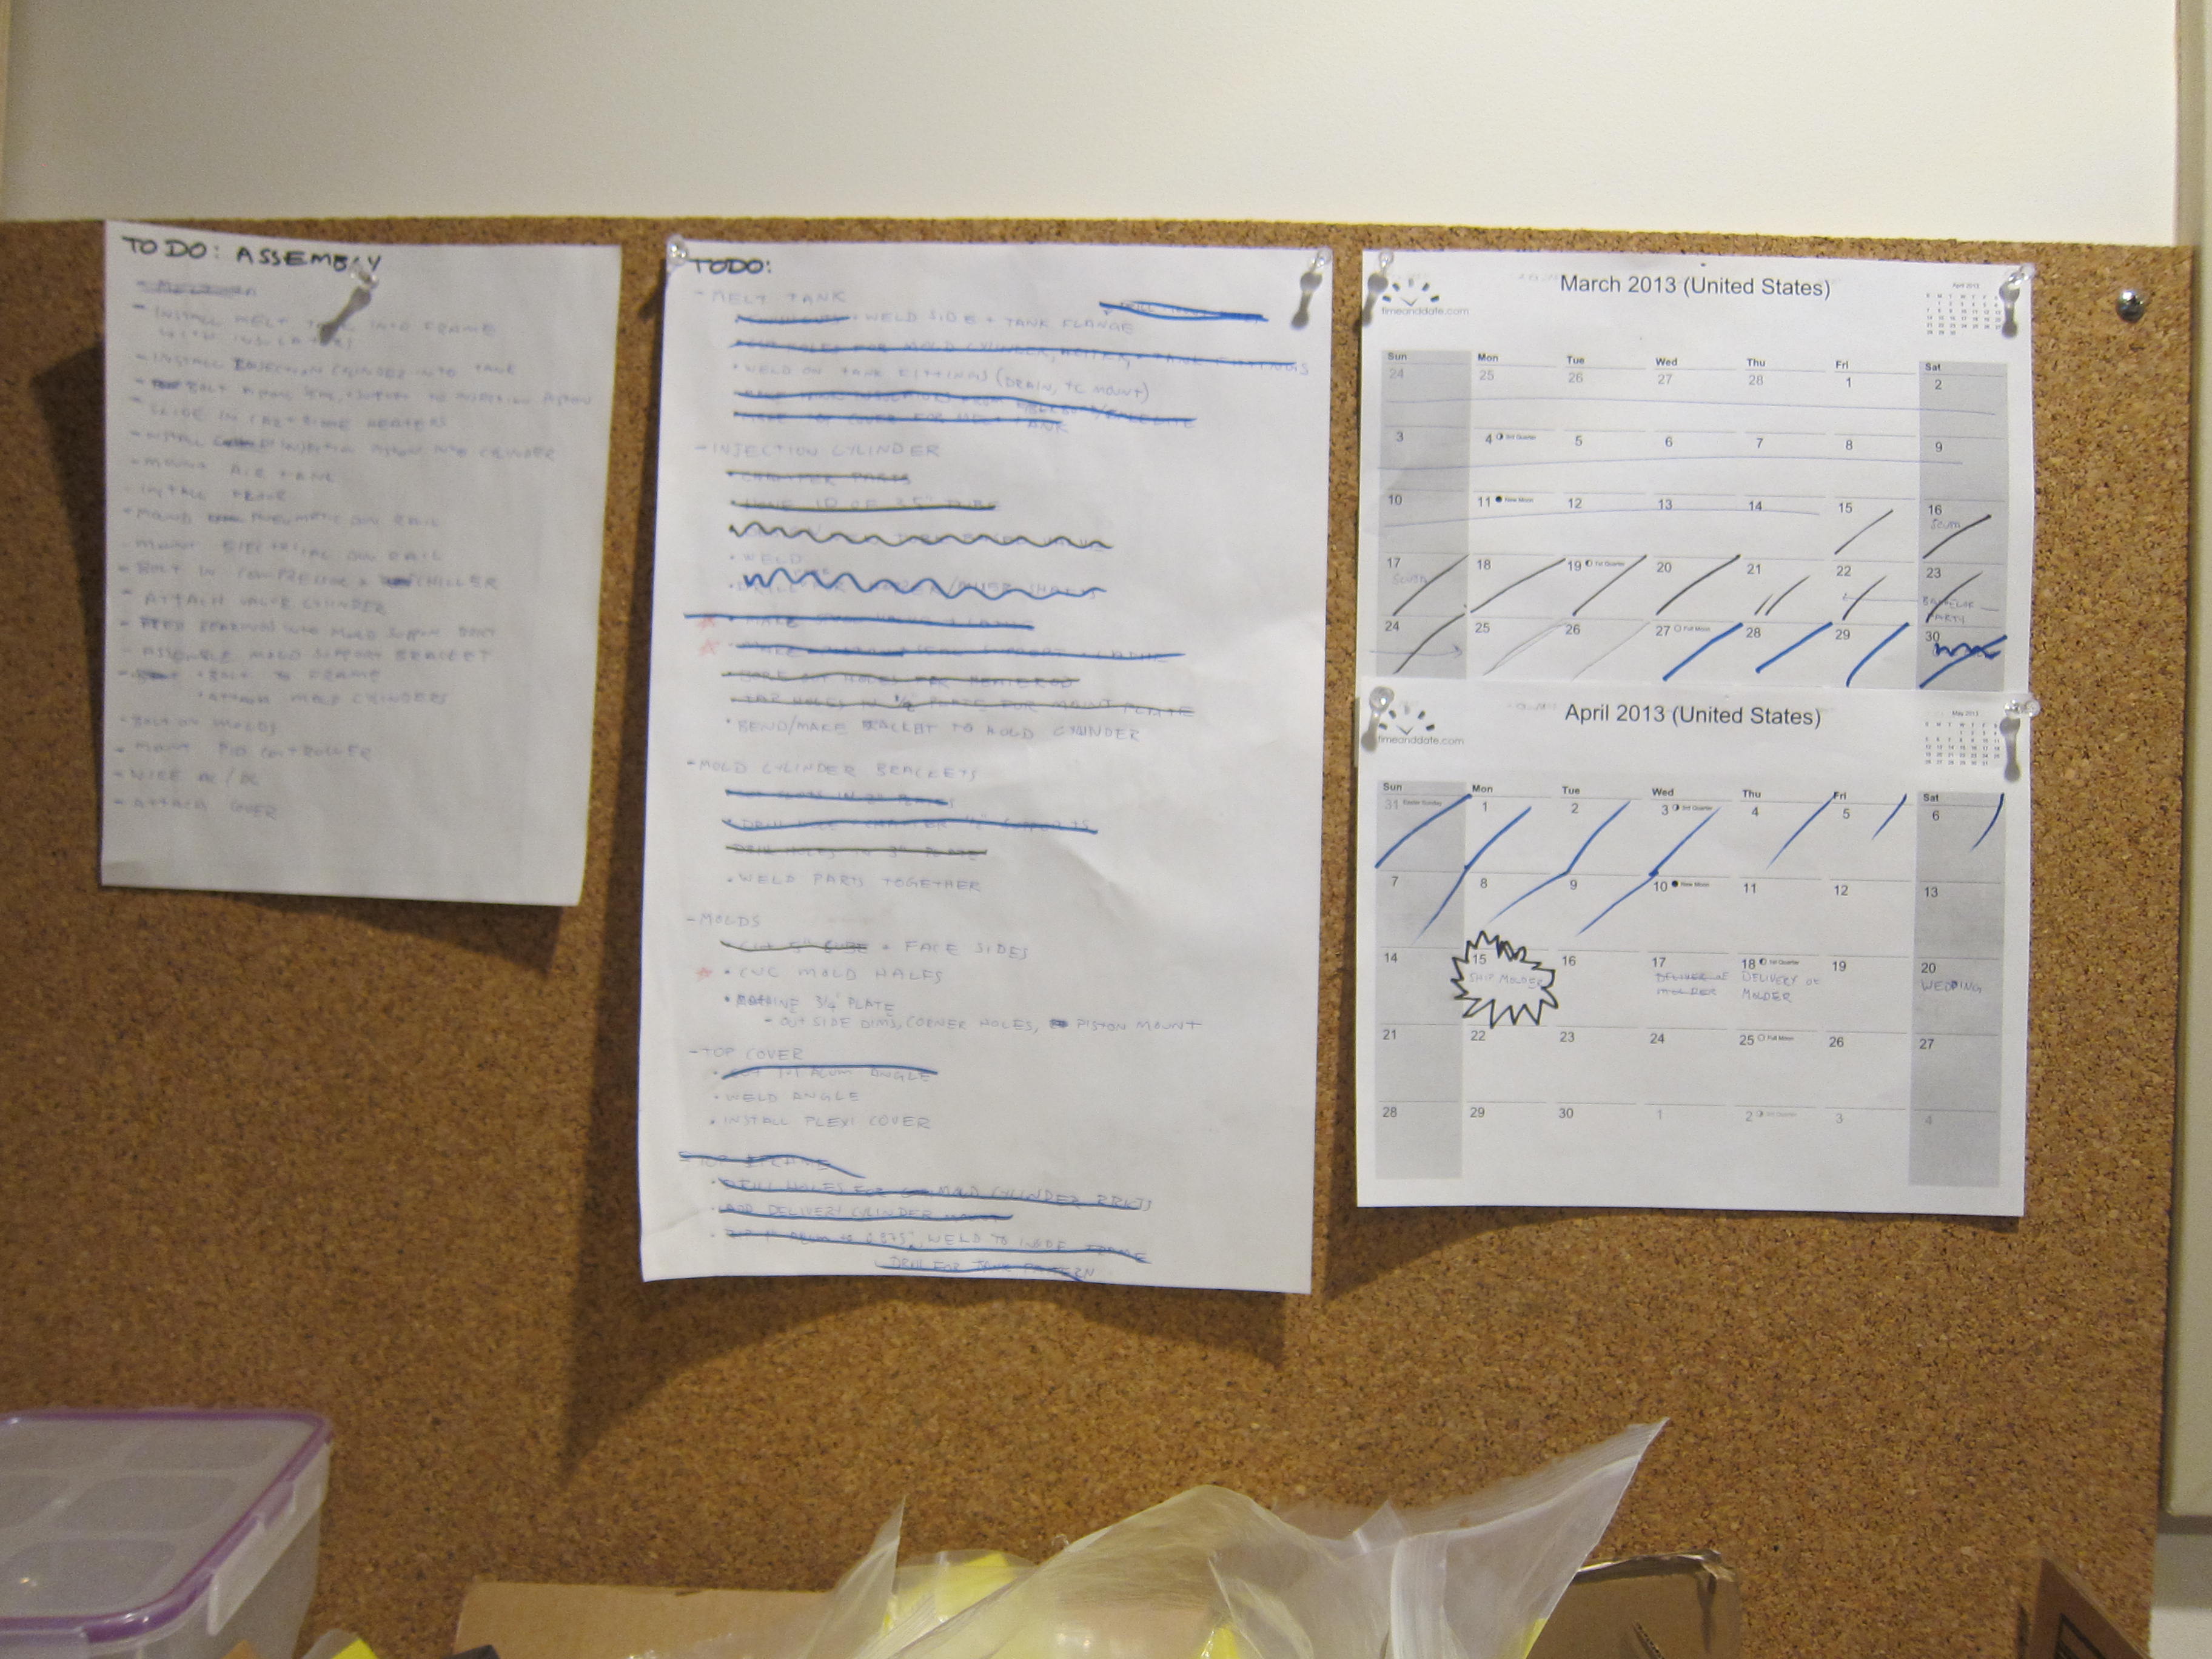
I think it’s actually closer to the middle of the priority list…
The original Mold-a-Rama used a bubble top to protect the users (fitting for the 1950s theme of the machine). Here’s good guide on making one yourself:
http://www.recumbents.com/wisil/bubbles/hpvbubbles.htm
Since my machine is decidedly more industrial, I went with an aluminum frame made of 1″ x “1 x 1/8” aluminum angle with polycarbonate panels. Polycarbonate (aka lexan) is a better choice for a machine enclosure than say acrylic due to its higher impact strength. Acrylic will shatter upon impact. My molder’s cover completes the square profile of the machine (in green below). It hinges at the back and will latch (somehow?) in the front.

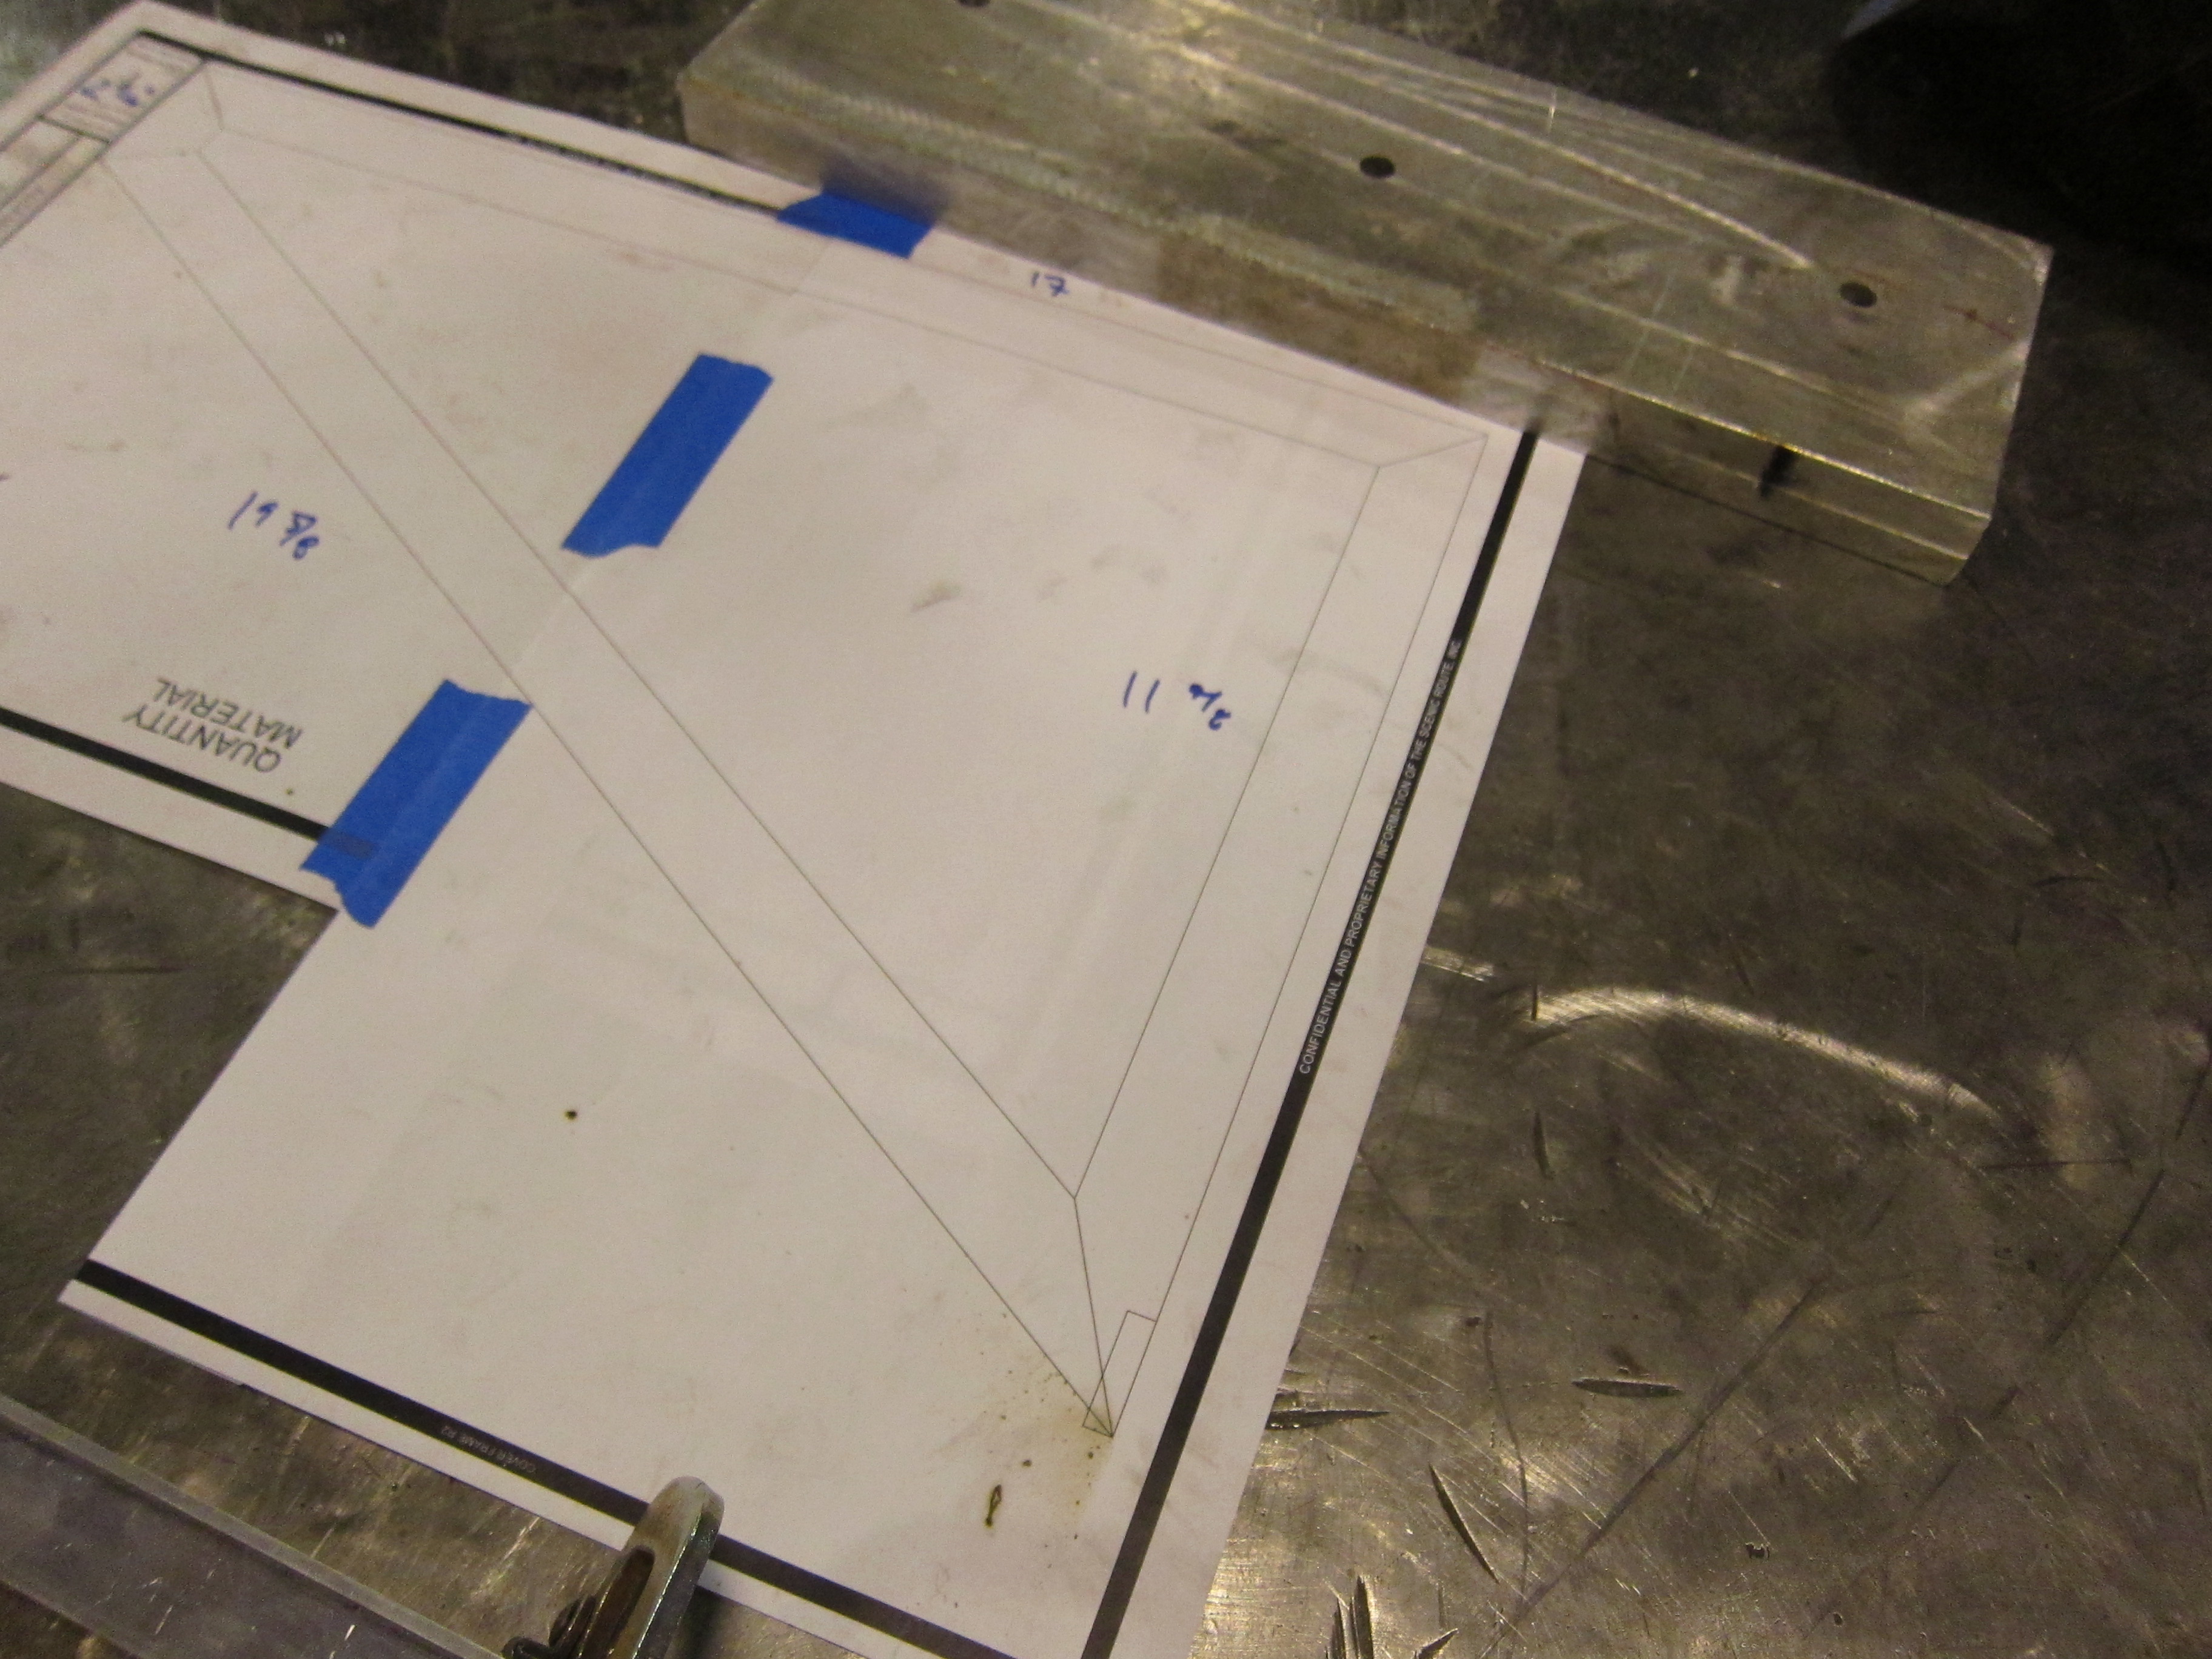
After cutting the stock to size, I printed out a 1:1 outline of the sides.
I welded one side, and then use that part as a jig for the other side.
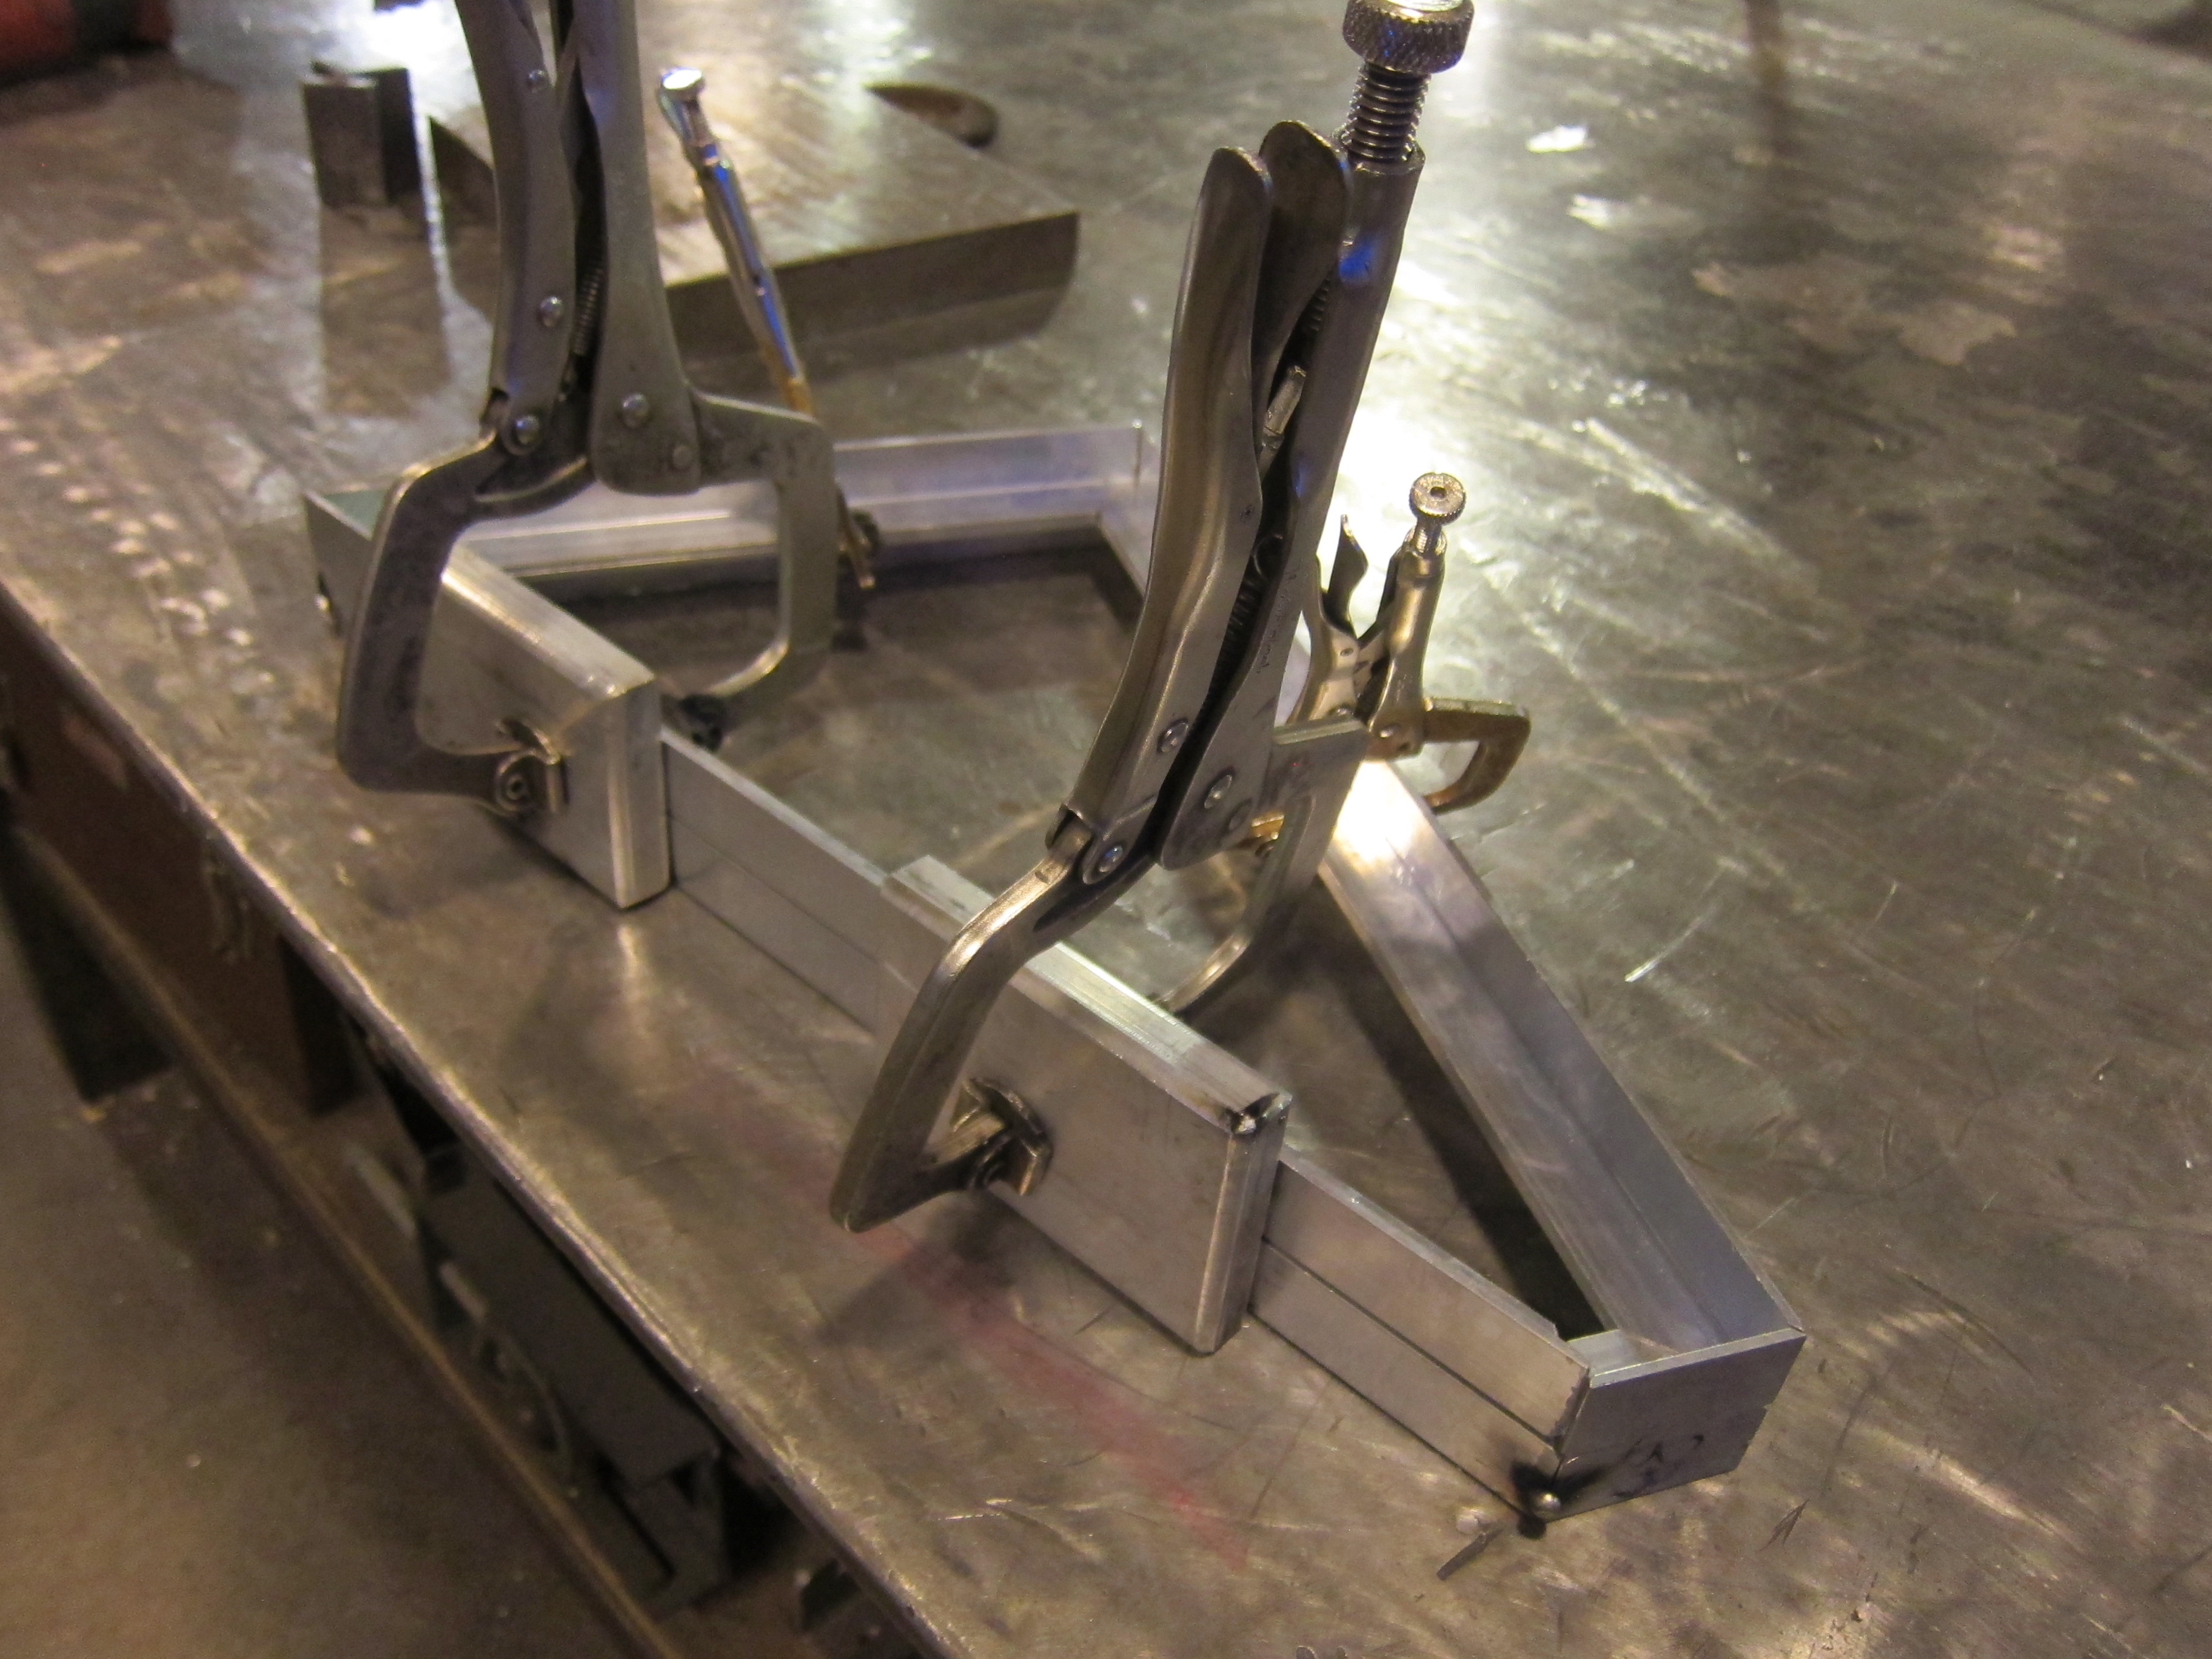
The two halves were welded tether with supports spanning the middle. I used an angle grinder and roloc disks to dress the welds. Since I wanted smooth joints, I needed to put a heavy bevel on the ends with the joints before welding. This allows you to have a smooth joint while still having weld remaning to hold the parts together.
After finish welding the frame, I cut to size the plexi panels on the table saw and peeled back a little of the protective film.
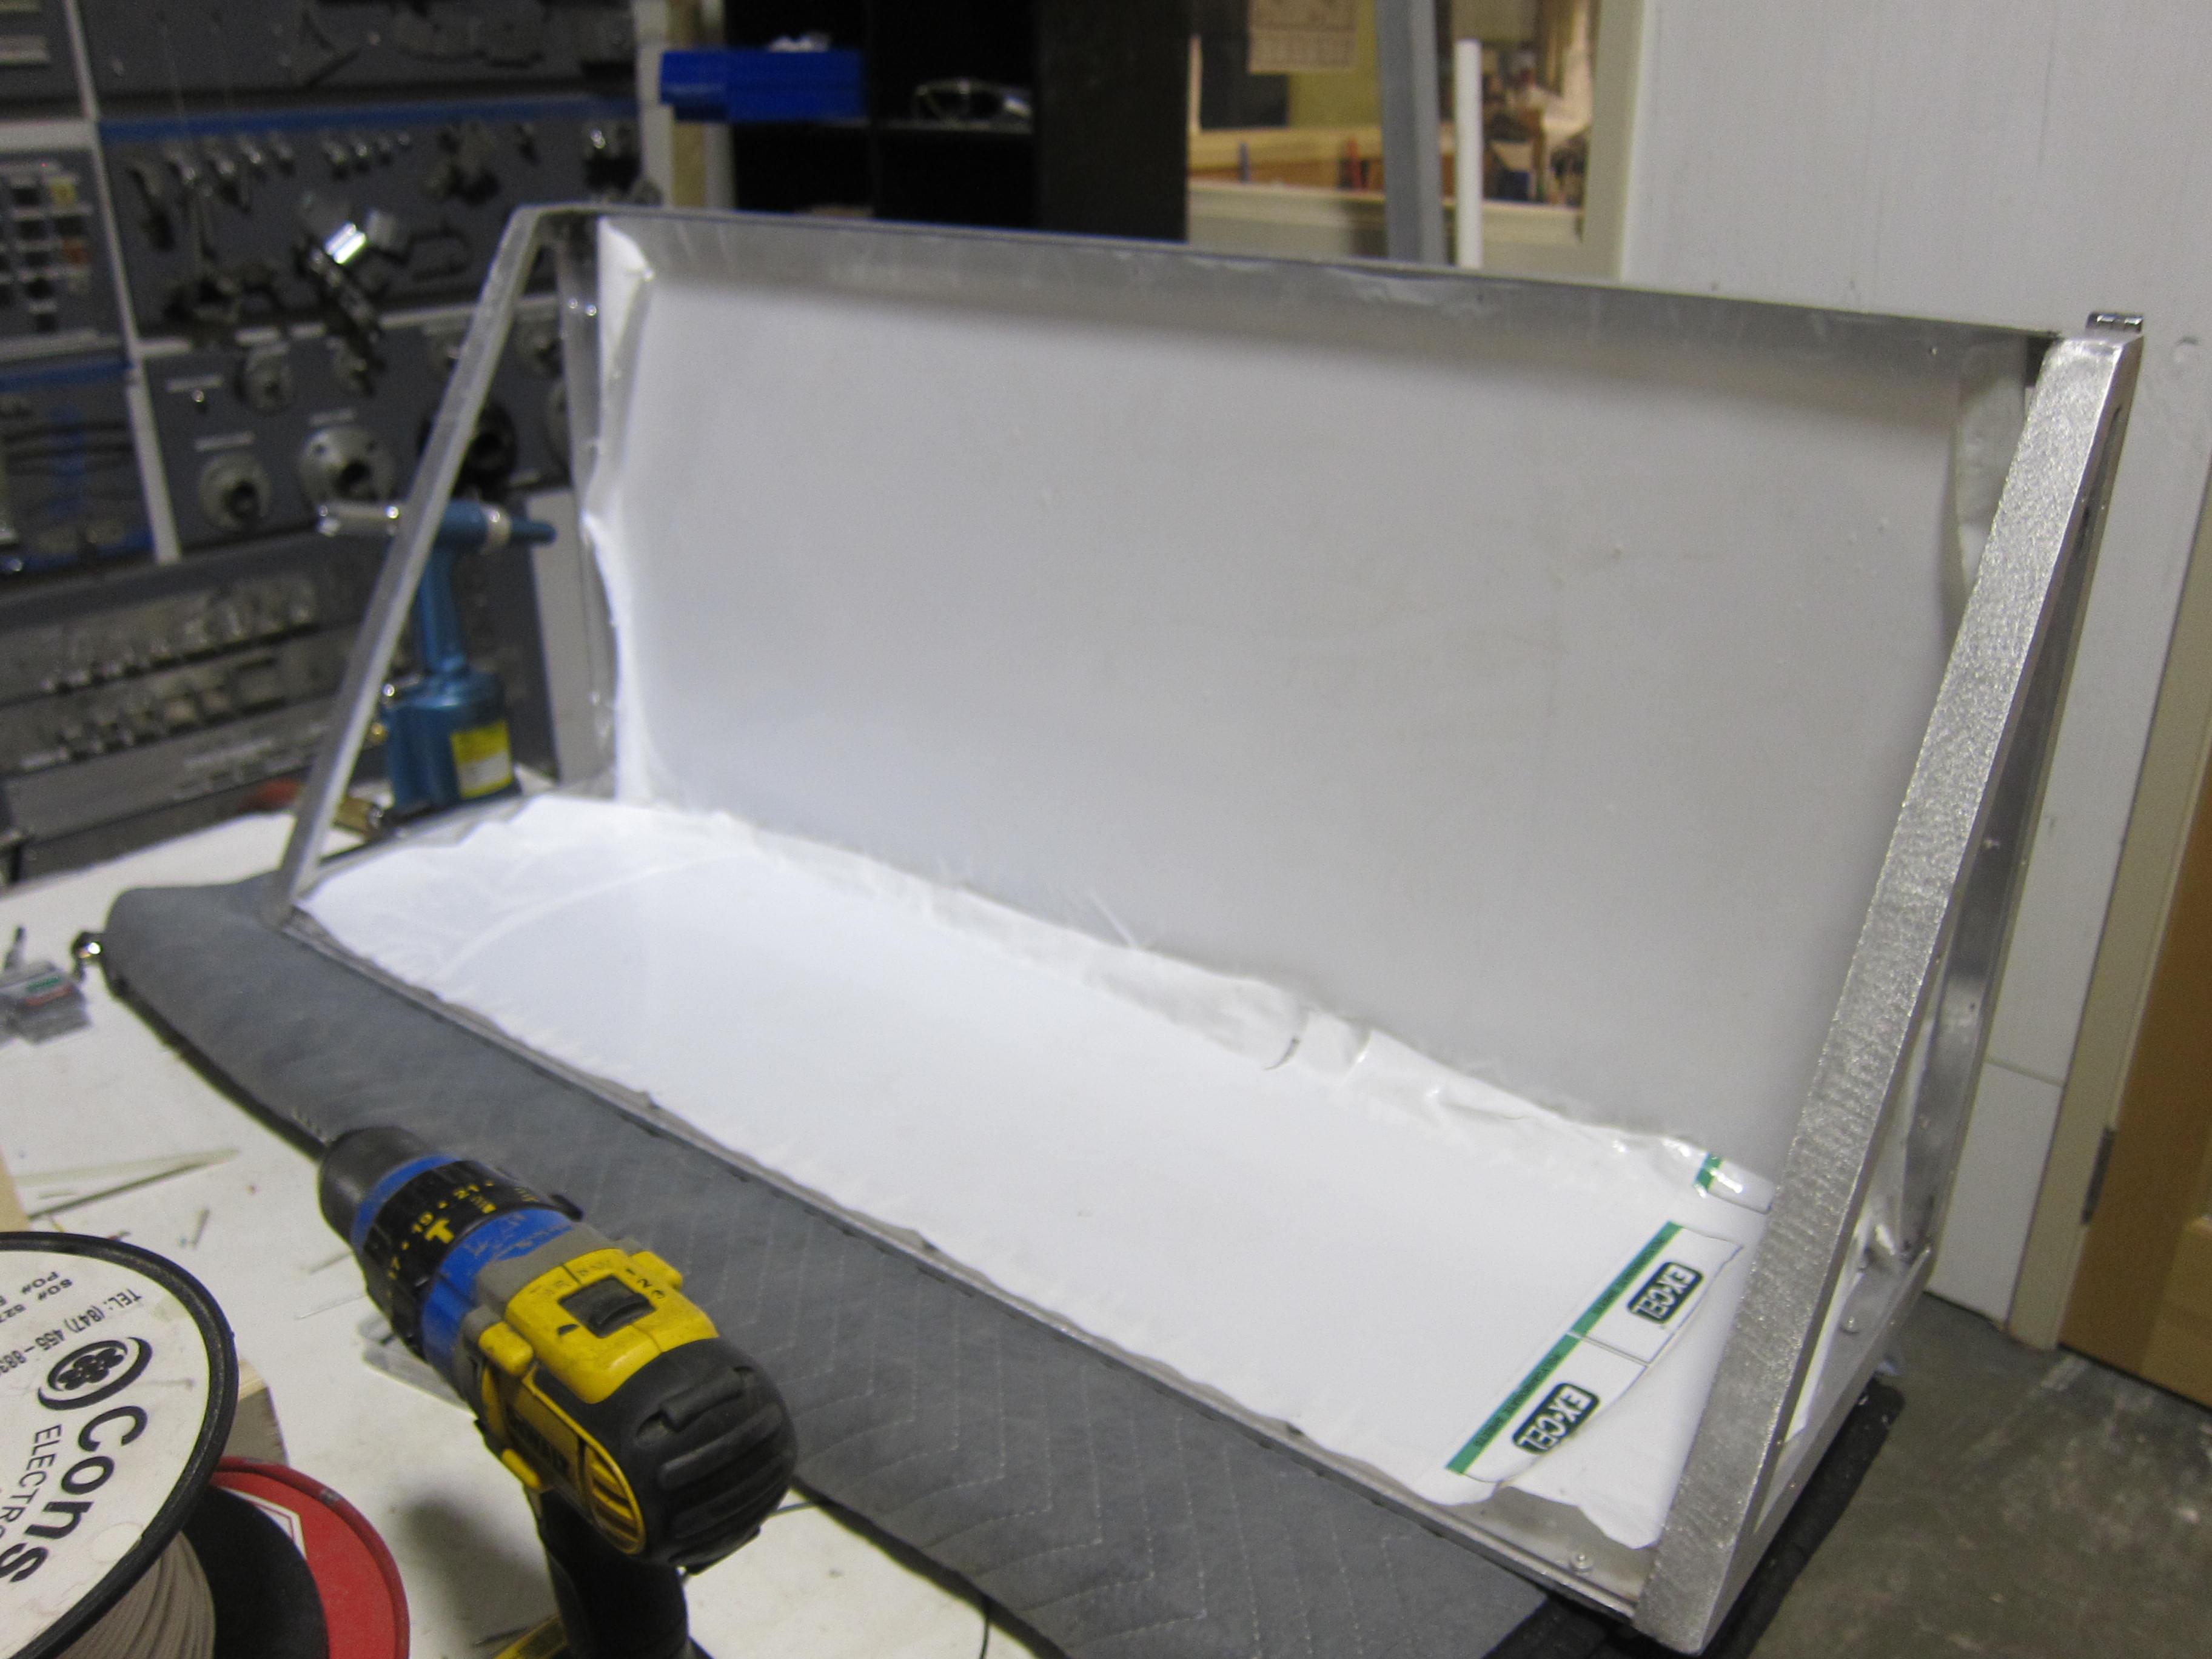
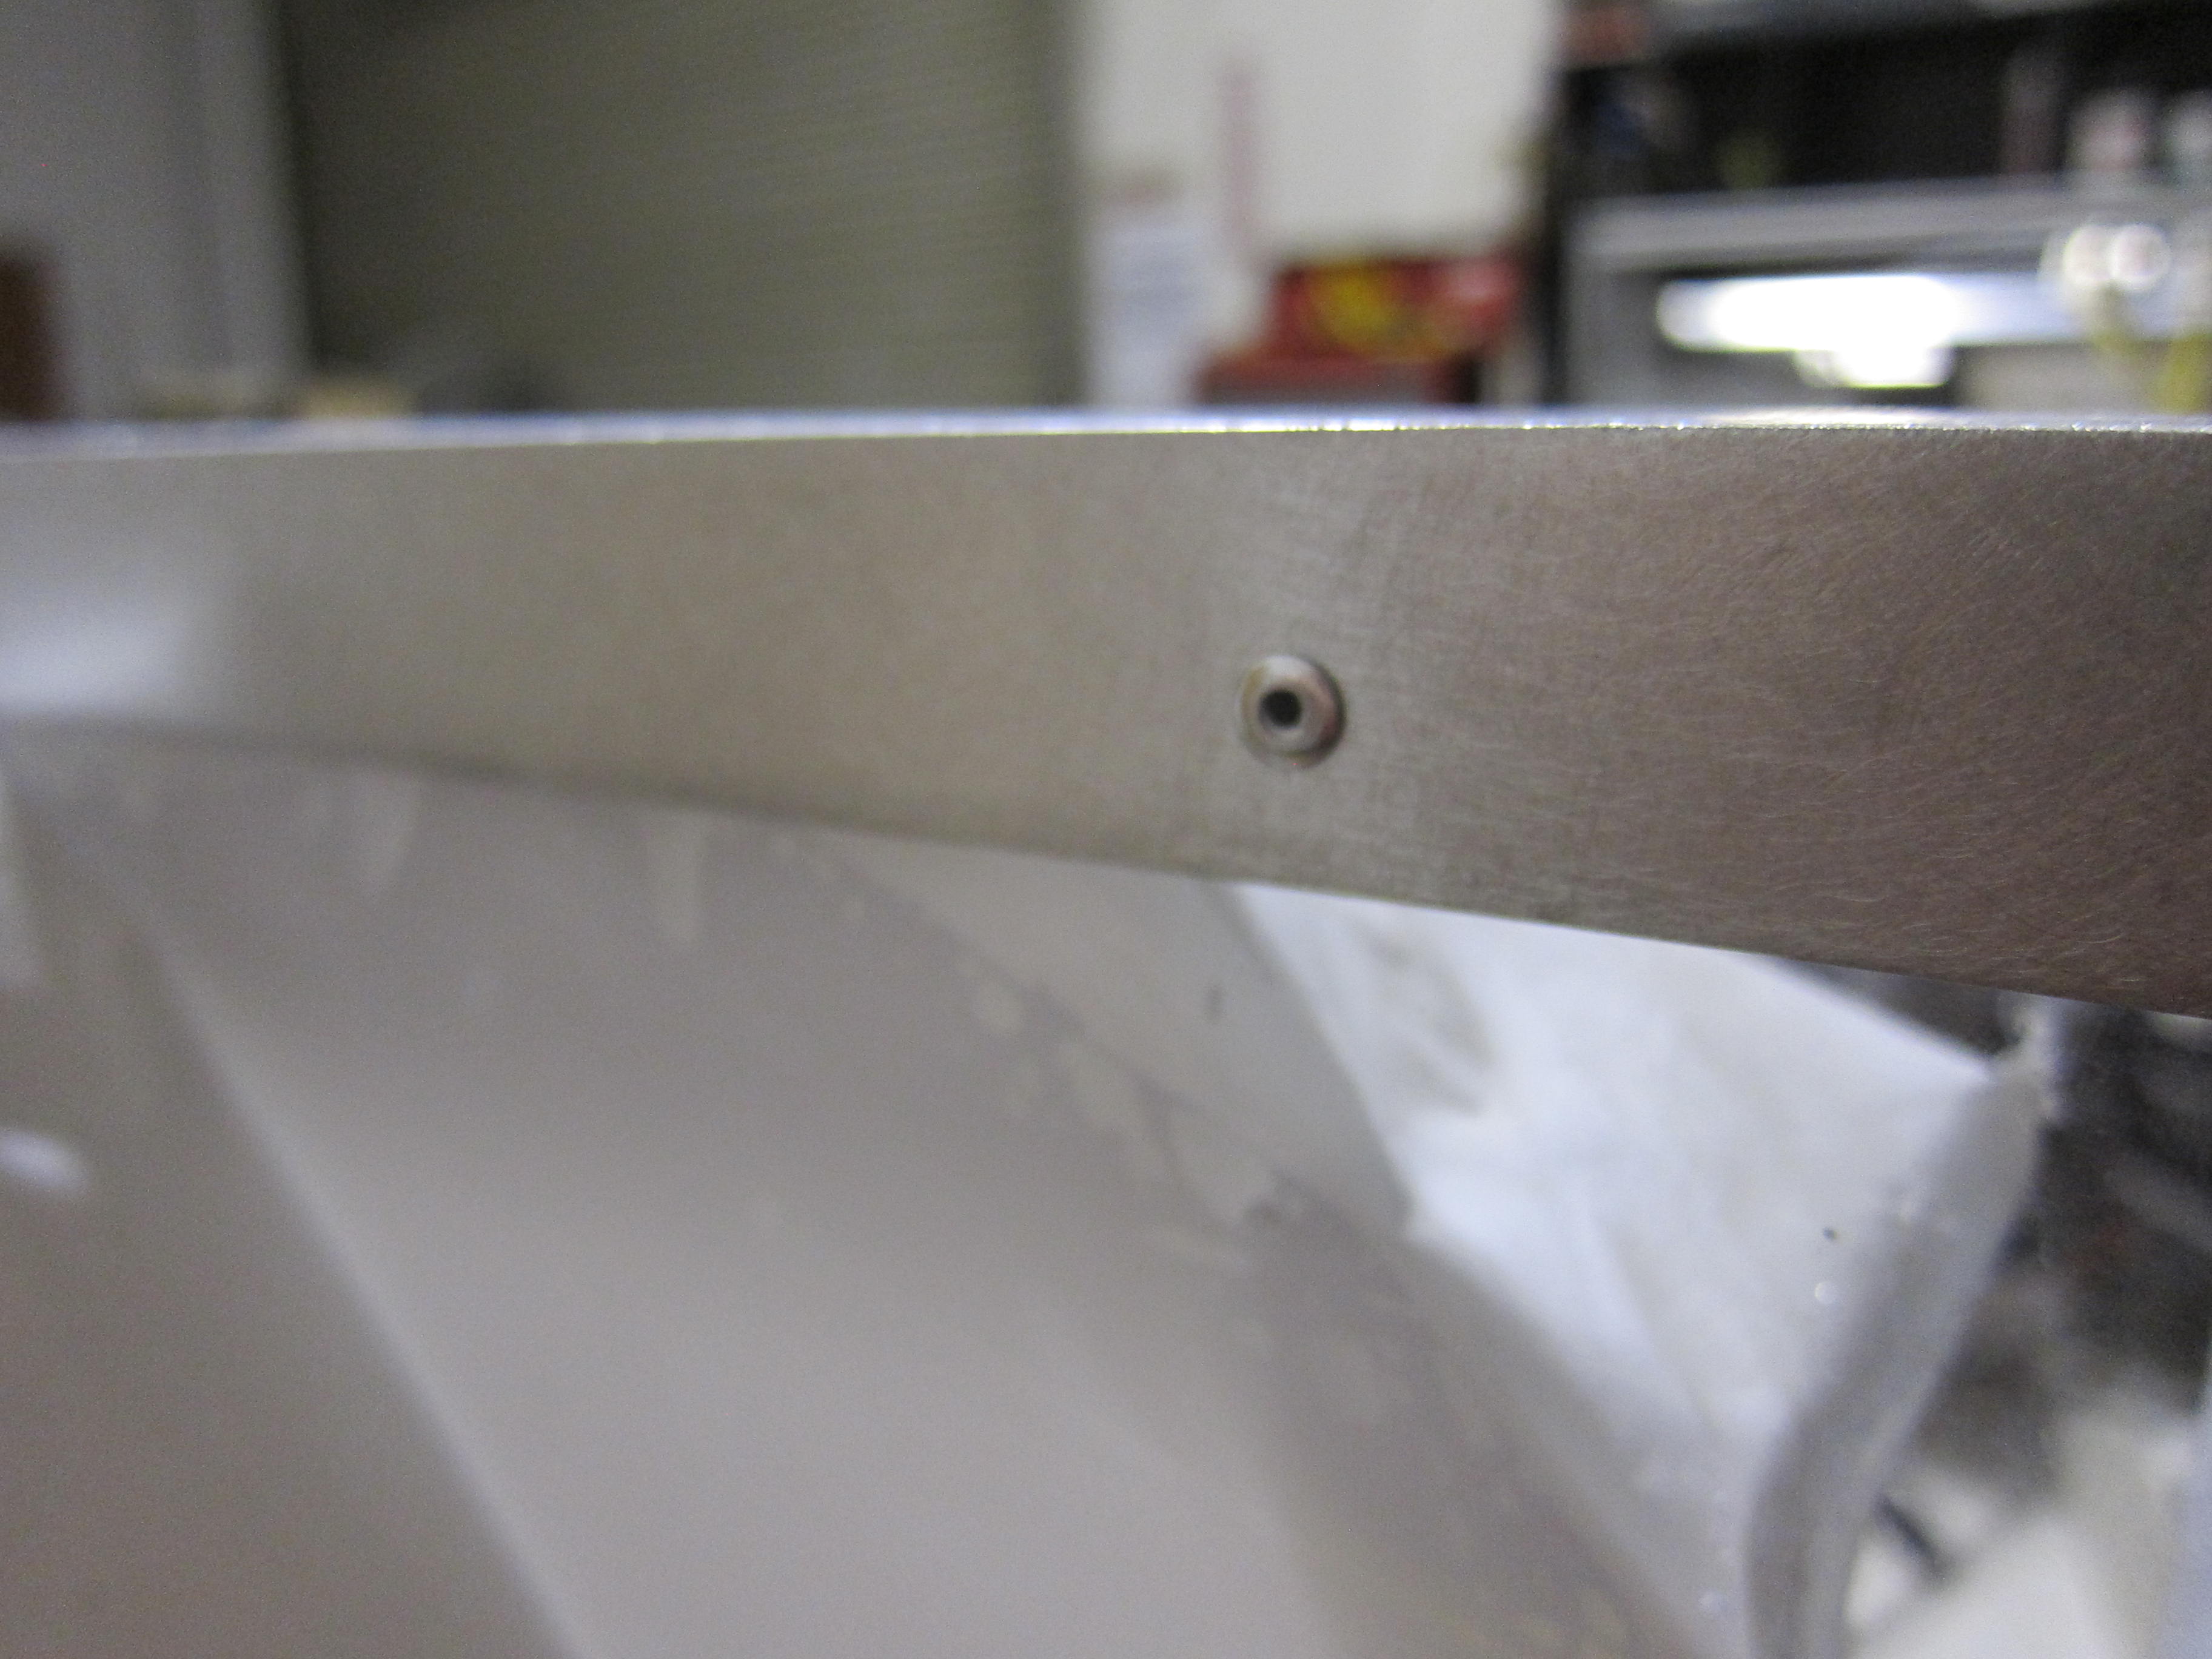
Pop rivets are used to hold the panels to the frame. I used a washer on the back of the plexi panel to keep the rivet from pulling through.

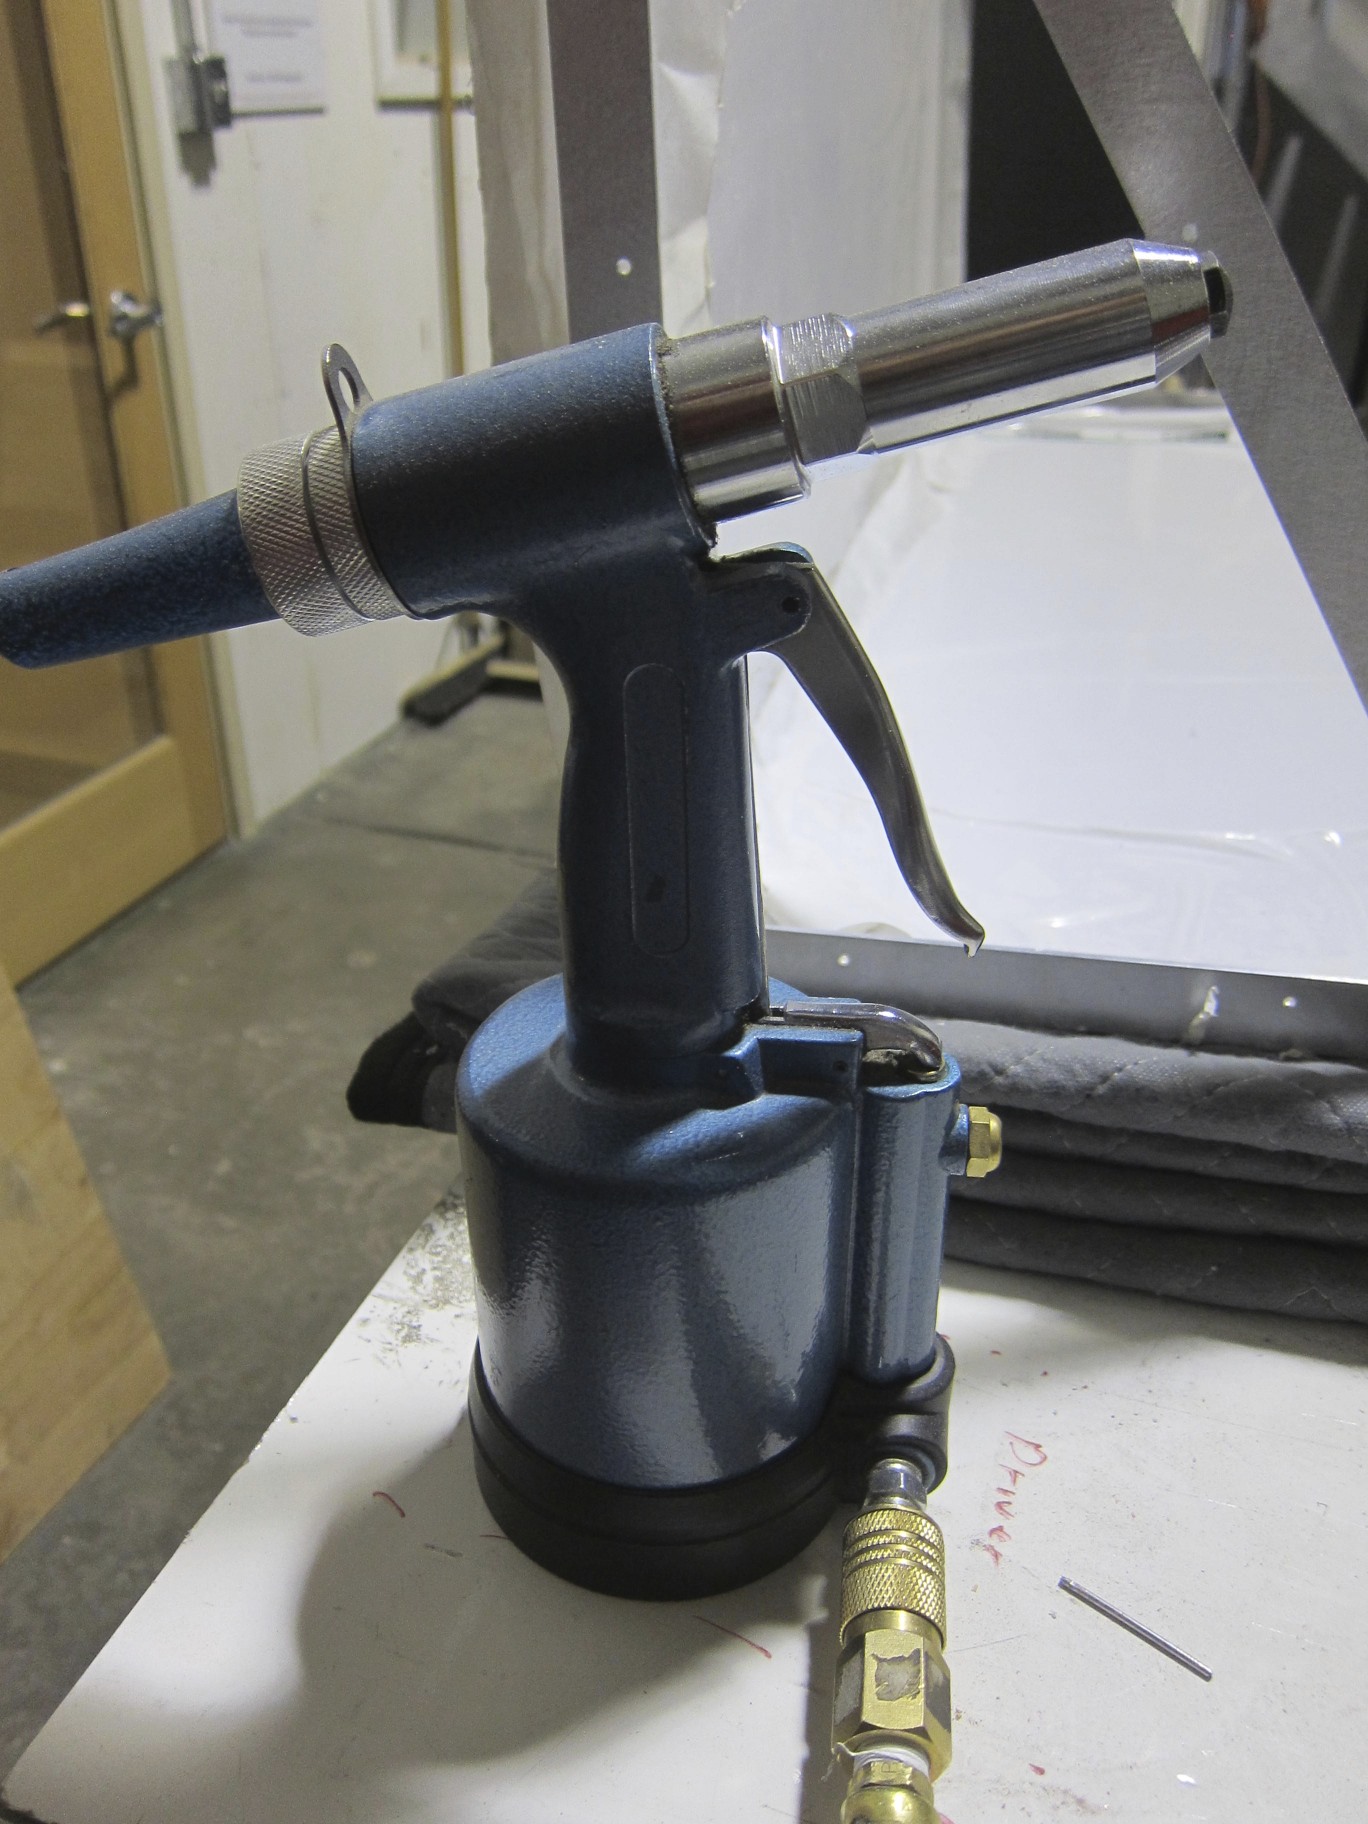
For this project I got to borrow a pneumatic riveter. These are SO much better than a manual riveter. Since you don’t need to apply nearly as much pressure, it’s much easier to get the rivets to sit flat. Also less hand fatigue, double win.
That’s it for the cover.

